Search
Cookie Usage
Statistics
Colour Key
Sudden Death
Monthly Poll
Caption Comp
eMail Author
Shops
Ships
Fleets
Weaponry
Species
People
Timelines
Calculators
Photo Galleries
Stations
Design Lineage
Size Charts
Battles
Science / Tech
Temporal
Styling
Maps / Politics
Articles
Reviews
Lists
Recreation
Search
Site Guide
What's New
Forum
Species
8472
Andorians
Armus
Ba'ku
Bajorans
Benzites
Betazoids
Bolians
Borg
Breen
Bynars
Cardassians
Cheronians
Crystalline entity
Demons
Denobulans
Douwd
Edo
El-Aurians
Ferengi
Founders
Gomtuu
Gorn
Hierarchy
Hirogen
Horta
Humans
Hunters
J'Naii
Jem'Hadar
Karemma
Kataanians
Kazon
Kelvans
Klingons
Kriosians
Ktarians
Lurians
Malon
Morg / Eymorg
Na'kuhl
Nagilum
Nanites
Nausicaans
Ocampa
Organians
Orions
Pah-wraiths
Pakled
Parasites
Progenitors
Prophets
Q
Remans
Risans
Romulans
Scalosians
Sheliak
Sikarians
Son'a
Sphere Builders
Suliban
Talaxians
Talosians
Tamarians
Tarchannen parasites
Tellarites
The Cloud
Tholians
Tosk
Tribbles
Trill
Vaadwaur
Vidiians
Vissians
Vorta
Voth
Vulcans
Xahean
Xindi Aquatics
Xindi Arboreals
Xindi Avians
Xindi Insectoids
Xindi Primates
Xindi Reptilians
Yridians
Zalkonians
Additional Species
☰
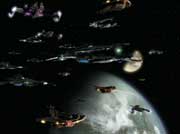
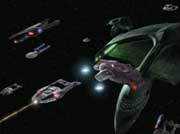
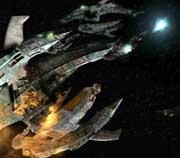
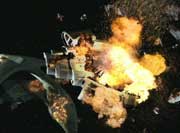
Battles Gallery
Page :
01
02
03
04
05
06
07
08
09
Sector 001
Image 7
Sector 001
Image 8
Sector 001
Image 9
Sector 001
Image 10
Sector 001
Image 11
Shattered Mirror
Image 1
Shattered Mirror
Image 2
Shattered Mirror
Image 3
Shattered Mirror
Image 4
Shattered Mirror
Image 5
Shattered Mirror
Image 6
Shattered Mirror
Image 7
Shattered Mirror
Image 8
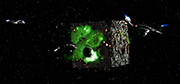
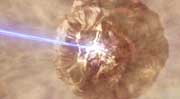
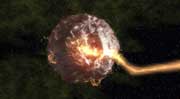
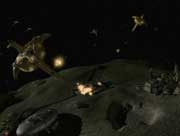
Sphere Bashing
Image 1
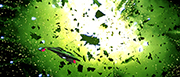
Sphere Bashing
Image 2
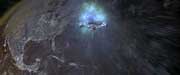
Sphere Bashing
Image 3
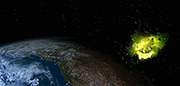
Sphere Bashing
Image 4
Sphere Bashing
Image 5
Sphere Bashing
Image 6
Sphere Bashing
Image 7
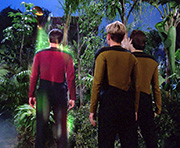
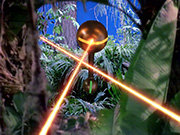
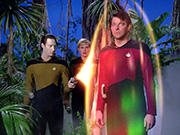
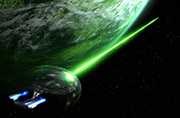
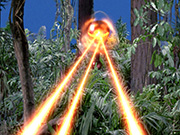
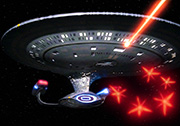
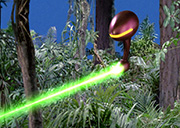
The Battle of Minos
Image 1
The Battle of Minos
Image 2
The Battle of Minos
Image 3
The Battle of Minos
Image 4
The Battle of Minos
Image 5
The Battle of Minos
Image 6
The Battle of Minos
Image 7
The Battle of Minos
Image 8
The Battle of Minos
Image 9
The Battle of Minos
Image 10
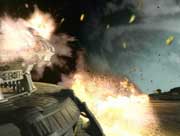
The Chin'koka Retreat
Image 1
The Chin'koka Retreat
Image 2
The Chin'koka Retreat
Image 3
The Chin'koka Retreat
Image 4
The Chin'koka Retreat
Image 5
The Chin'koka Retreat
Image 6
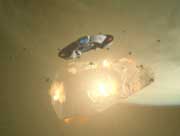
The Chin'toka Invasion
Image 1
The Chin'toka Invasion
Image 2
The Chin'toka Invasion
Image 3
The Chin'toka Invasion
Image 4
The Chin'toka Invasion
Image 5
The Chin'toka Invasion
Image 6
The Chin'toka Invasion
Image 7
The Chin'toka Invasion
Image 8
The Chin'toka Invasion
Image 9
The Chin'toka Invasion
Image 10
The Chin'toka Invasion
Image 11
The Chin'toka Invasion
Image 12
The Deadly Years
Image 1
The Deadly Years
Image 2
The Deadly Years
Image 3
The Deadly Years
Image 4
The Deadly Years
Image 5
The Deadly Years
Image 6
The Deadly Years
Image 7
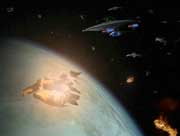
The Dominion War
Image 1
The Dominion War
Image 2
The Dominion War
Image 3
The Dominion War
Image 4
The Dominion War
Image 5
Page :
01
02
03
04
05
06
07
08
09
Colour key
Canon source
Backstage source
Novel source
DITL speculation
© Graham & Ian Kennedy
Page views : 338,902
Last updated : 24 Nov 2005