Search
Cookie Usage
Statistics
Colour Key
Sudden Death
Monthly Poll
Caption Comp
eMail Author
Shops
Ships
Fleets
Weaponry
Species
People
Timelines
Calculators
Photo Galleries
Stations
Design Lineage
Size Charts
Battles
Science / Tech
Temporal
Styling
Maps / Politics
Articles
Reviews
Lists
Recreation
Search
Site Guide
What's New
Forum
Ship Related
Constitution Class
Klingon Battlecruiser
Klingon Bird of Prey
Magazine Capacity
NX Class Phase Cannon
Sovereign Changes
Star Trek : Discovery
The Defiant
The USS Franklin
Culture / Philosophy
Borg History
Money
Monoculture
Religion in Trek
Technology Levels
The Ba'Ku Land Grab
Trills / Dax
General Technology
Abrams Speed!
Antimatter
Phasers
Romulan Warp Drive
The Holodeck
Torpedo Yields
Transwarp Theories
Tri-cobalt device
Warp in a Solar System
Warp Speed Anomalies
Energy And Power
D'Deridex Class Weapons
Galaxy Class Shields
Galaxy Class Total Output
Galaxy Class Weapon Output
Genesis Weapon Power
Husnock Weapons
Intrepid Class Total Output
TOS Type 2 Phaser Power
Trilithium Torpedo Power
Miscellaneous
Dangling Threads
Enterprise Ramblings
Eugenics War Dates
Franz Joseph's Star Trek
Here be Remans?
Live fast... Write Badly
Maps
Materials
Nemesis Script
Random Musings
Scaling Issues
Size of the Federation
Stardates
The Ceti Alpha Conundrum
The Size of Starfleet
Trek XI Issues
☰
Battles Gallery
Page :
01
02
03
04
05
06
07
08
09
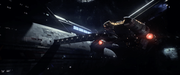
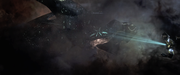
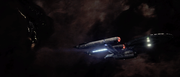
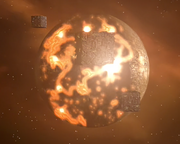
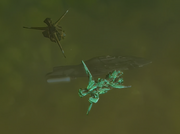
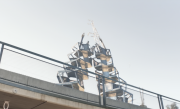
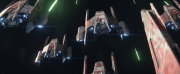
Azati Prime
Image 2
Azati Prime
Image 3
Azati Prime
Image 4
Azati Prime
Image 5
Azati Prime
Image 6
Azati Prime
Image 7
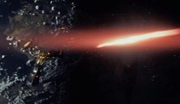
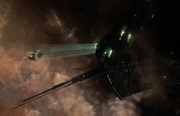
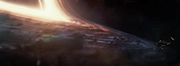
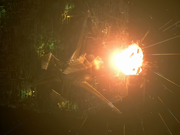
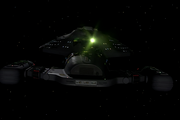
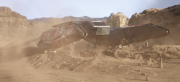
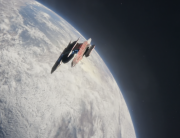
Battle of the Brown Dwarf
Image 1
Battle of the Brown Dwarf
Image 2
Battle of the Brown Dwarf
Image 3
Battle of the Brown Dwarf
Image 4
Battle of the Brown Dwarf
Image 5
Battle of the Brown Dwarf
Image 6
Battle of the Brown Dwarf
Image 7
Battle of the Brown Dwarf
Image 8
Battle of the Brown Dwarf
Image 9
Battle of the Brown Dwarf
Image 10
Battle of the Brown Dwarf
Image 11
Battle of the Brown Dwarf
Image 12
Battle of the Brown Dwarf
Image 13
Battle of the Brown Dwarf
Image 14
Battle of the Brown Dwarf
Image 15
Battle of the Brown Dwarf
Image 16
Battle of the Brown Dwarf
Image 17
Battle of the Brown Dwarf
Image 18
Battle of the Brown Dwarf
Image 19
Battle of the Brown Dwarf
Image 20
Battle of the Brown Dwarf
Image 21
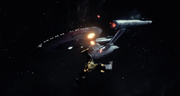
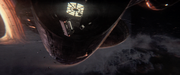
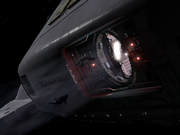
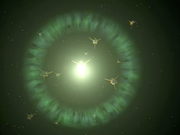
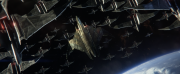
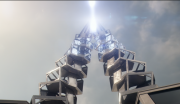
Borg / 8472 War
Image 1
Borg / 8472 War
Image 2
Borg / 8472 War
Image 3
Borg / 8472 War
Image 4
Borg / 8472 War
Image 5
Borg / 8472 War
Image 6
Borg / 8472 War
Image 7
Borg / 8472 War
Image 8
Borg / 8472 War
Image 9
Borg / 8472 War
Image 10
Borg / 8472 War
Image 11
Borg / 8472 War
Image 12
Borg / 8472 War
Image 13
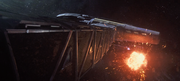
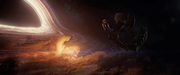
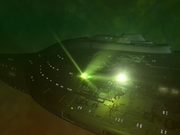
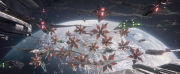
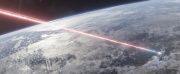
Coppelius battle
Image 1
Coppelius battle
Image 2
Coppelius battle
Image 3
Coppelius battle
Image 4
Coppelius battle
Image 5
Coppelius battle
Image 6
Coppelius battle
Image 7
Coppelius battle
Image 8
Coppelius battle
Image 9
Coppelius battle
Image 10
Coppelius battle
Image 11
Coppelius battle
Image 12
Coppelius battle
Image 13
Coppelius battle
Image 14
Coppelius battle
Image 15
Coppelius battle
Image 16
Coppelius battle
Image 17
Coppelius battle
Image 18
Coppelius battle
Image 19
Coppelius battle
Image 20
Page :
01
02
03
04
05
06
07
08
09
Colour key
Canon source
Backstage source
Novel source
DITL speculation
© Graham & Ian Kennedy
Page views : 377,414
Last updated : 24 Nov 2005