Search
Cookie Usage
Statistics
Colour Key
Sudden Death
Monthly Poll
Caption Comp
eMail Author
Shops
Ships
Fleets
Weaponry
Species
People
Timelines
Calculators
Photo Galleries
Stations
Design Lineage
Size Charts
Battles
Science / Tech
Temporal
Styling
Maps / Politics
Articles
Reviews
Lists
Recreation
Search
Site Guide
What's New
Forum
Battles
Introduction
Enterprise Attack
Azati Prime
Sphere Bashing
Saving Earth
Vulcan Civil War
Romulan Marauder
Empire in Crisis
Battle of the Brown Dwarf
Altimid Battle
Romulan Attack
Romulan Attack
The Doomsday Machine
The Deadly Years
The M-5 Debacle
The Wrath of Khan
Khitomer Crisis
The Battle of Minos
Wolf 359
Klingon Civil War
The Odyssey
Death of a Caretaker
A Flagship Battle
The Omarion Nebula
Deep Space Nine
Kazon Attack
Shattered Mirror
Borg / 8472 War
The Swarm
Sector 001
The Dominion War
The Valley of Death
The Chin'toka Invasion
AR-558
The Chin'koka Retreat
Righteous Insurrection
Advance on Cardassia
Vaadwaur Battle
Workforce Incident
Reman Nemesis
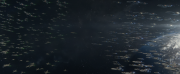
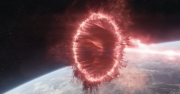
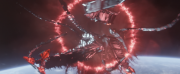
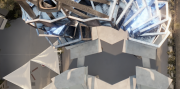
Coppelius battle
☰
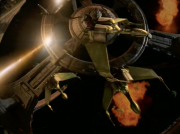
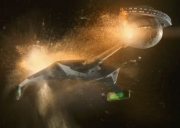
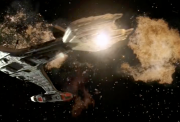
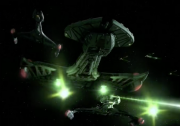
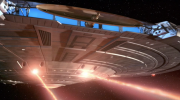
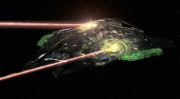
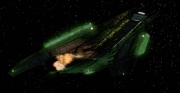
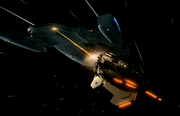
Battles Gallery
Page :
01
02
03
04
05
06
07
08
09
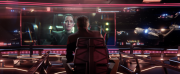
Coppelius battle
Image 21
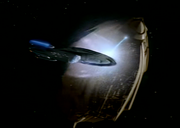
Coppelius battle
Image 22
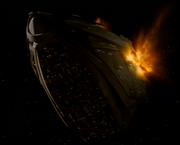
Coppelius battle
Image 23
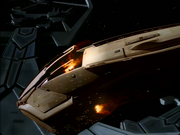
Coppelius battle
Image 24
Coppelius battle
Image 25
Coppelius battle
Image 26
Coppelius battle
Image 27
Death of a Caretaker
Image 1
Death of a Caretaker
Image 2
Death of a Caretaker
Image 3
Death of a Caretaker
Image 4
Death of a Caretaker
Image 5
Death of a Caretaker
Image 6
Death of a Caretaker
Image 7
Death of a Caretaker
Image 8
Death of a Caretaker
Image 9
Death of a Caretaker
Image 10
Death of a Caretaker
Image 11
Death of a Caretaker
Image 12
Deep Space Nine
Image 1
Deep Space Nine
Image 2
Deep Space Nine
Image 3
Deep Space Nine
Image 4
Deep Space Nine
Image 5
Deep Space Nine
Image 6
Deep Space Nine
Image 7
Deep Space Nine
Image 8
Deep Space Nine
Image 9
Deep Space Nine
Image 10
Deep Space Nine
Image 11
Empire in Crisis
Image 1
Empire in Crisis
Image 2
Empire in Crisis
Image 3
Empire in Crisis
Image 4
Empire in Crisis
Image 5
Empire in Crisis
Image 6
Empire in Crisis
Image 7
Empire in Crisis
Image 8
Empire in Crisis
Image 9
Empire in Crisis
Image 10
Empire in Crisis
Image 11
Empire in Crisis
Image 12
Empire in Crisis
Image 13
Enterprise Attack
Image 1
Enterprise Attack
Image 2
Enterprise Attack
Image 3
Enterprise Attack
Image 4
Enterprise Attack
Image 5
Enterprise Attack
Image 6
Enterprise Attack
Image 7
Enterprise Attack
Image 8
Enterprise Attack
Image 9
Enterprise Attack
Image 10
Enterprise Attack
Image 11
Enterprise Attack
Image 12
Kazon Attack
Image 1
Kazon Attack
Image 2
Kazon Attack
Image 3
Kazon Attack
Image 4
Kazon Attack
Image 5
Page :
01
02
03
04
05
06
07
08
09
Colour key
Canon source
Backstage source
Novel source
DITL speculation
© Graham & Ian Kennedy
Page views : 379,004
Last updated : 24 Nov 2005