Search
Cookie Usage
Statistics
Colour Key
Sudden Death
Monthly Poll
Caption Comp
eMail Author
Shops
Ships
Fleets
Weaponry
Species
People
Timelines
Calculators
Photo Galleries
Stations
Design Lineage
Size Charts
Battles
Science / Tech
Temporal
Styling
Maps / Politics
Articles
Reviews
Lists
Recreation
Search
Site Guide
What's New
Forum
People
Jonathan Archer
Soji Asha
Reginald Barclay
Julian Bashir
Chakotay
Christine Chapel
Pavel Chekov
Pavel A. Chekov
Zefram Cochrane
Beverly Crusher
Wesley Crusher
Damar
Daniels
Data
Dax
Richard Daystrom
Degra
Dukat
Michael Eddington
Elnor
EMH
Forrest
Elim Garak
Gowron
Guinan
Kathryn Janeway
Agnes Jurati
Kahless the Unforgettable
Kes
Harry Kim
Kira Nerys
James T. Kirk
James T. Kirk
Geordi La Forge
Leeta
Lore
Martok
Travis Mayweather
Leonard McCoy
Leonard H. McCoy
Morn
Raffaela Musiker
Narek
Alynna Nechayev
Neelix
Nero
Nog
Keiko O'Brien
Miles Edward O'Brien
Odo
Thomas Eugene Paris
Pelia
Phlox
Jean-Luc Picard
Christopher Pike
Katherine Pulaski
Q
Quark
Janice Rand
Malcolm Reed
William T. Riker
Cristóbal Rios
Rom
Alexander Rozhenko
Worf Rozhenko
Sarek
Sarek
Hoshi Sato
Montgomery Scott
Scotty
Seska
Seven of Nine
Shran
Silik
Benjamin Sisko
Jake Sisko
Noonien Soong
Soval
Spock
Spock
Hikaru Sulu
Hikaru Sulu
Surak
T'Pol
B'Elanna Torres
T'Pau
Deanna Troi
Lwaxana Troi
Charles Tucker III
Tuvok
Nyota Uhura
Nyota Uhura
Weyoun
Winn Adami
Natasha Yar
Additional People
Crew Manifests
The Original Series
The Next Generation
Deep Space Nine
Voyager
Enterprise
La Sirena
Star Trek XI Enterprise
☰
Battles Gallery
Page :
01
02
03
04
05
06
07
08
09
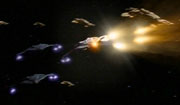
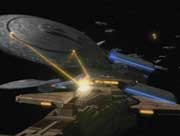
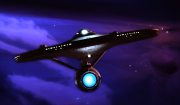
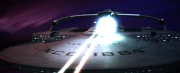
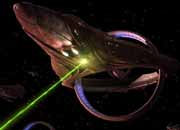
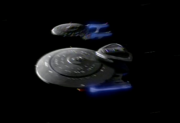
The Omarion Nebula
Image 11
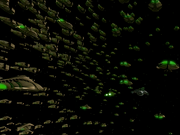
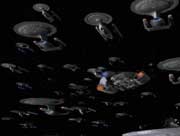
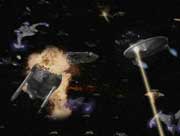
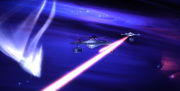
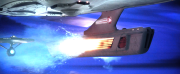
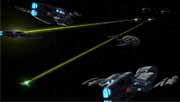
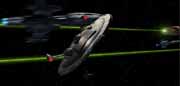
The Swarm
Image 1
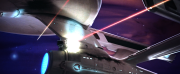
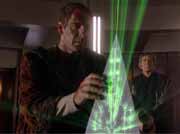
The Swarm
Image 2
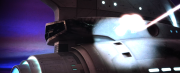
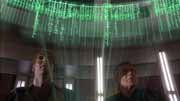
The Swarm
Image 3
The Swarm
Image 4
The Swarm
Image 5
The Swarm
Image 6
The Swarm
Image 7
The Swarm
Image 8
The Swarm
Image 9
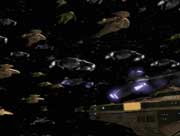
The Valley of Death
Image 1
The Valley of Death
Image 2
The Valley of Death
Image 3
The Valley of Death
Image 4
The Valley of Death
Image 5
The Valley of Death
Image 6
The Valley of Death
Image 7
The Valley of Death
Image 8
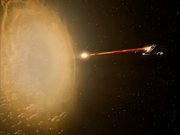
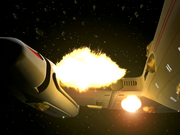
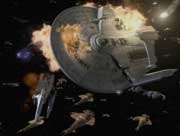
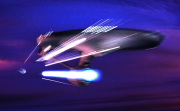
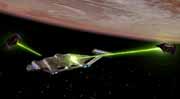
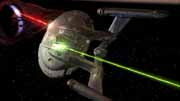
The Wrath of Khan
Image 1
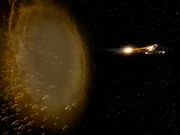
The Wrath of Khan
Image 2
The Wrath of Khan
Image 3
The Wrath of Khan
Image 4
The Wrath of Khan
Image 5
The Wrath of Khan
Image 6
The Wrath of Khan
Image 7
The Wrath of Khan
Image 8
The Wrath of Khan
Image 9
The Wrath of Khan
Image 10
The Wrath of Khan
Image 11
The Wrath of Khan
Image 12
The Wrath of Khan
Image 13
The Wrath of Khan
Image 14
The Wrath of Khan
Image 15
The Wrath of Khan
Image 16
The Wrath of Khan
Image 17
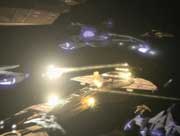
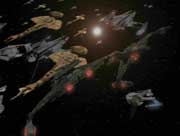
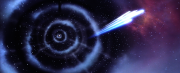
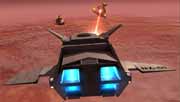
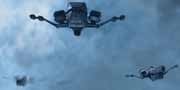
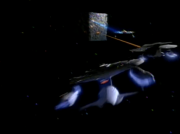
Vaadwaur Battle
Image 1
Vaadwaur Battle
Image 2
Vaadwaur Battle
Image 3
Vaadwaur Battle
Image 4
Vaadwaur Battle
Image 5
Vaadwaur Battle
Image 6
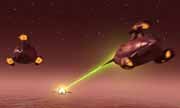
Vulcan Civil War
Image 1
Vulcan Civil War
Image 2
Vulcan Civil War
Image 3
Vulcan Civil War
Image 4
Vulcan Civil War
Image 5
Vulcan Civil War
Image 6
Vulcan Civil War
Image 7
Vulcan Civil War
Image 8
Vulcan Civil War
Image 9
Vulcan Civil War
Image 10
Vulcan Civil War
Image 11
Vulcan Civil War
Image 12
Vulcan Civil War
Image 13
Vulcan Civil War
Image 14
Vulcan Civil War
Image 15
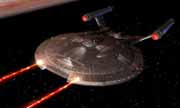
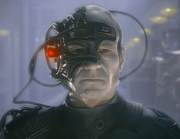
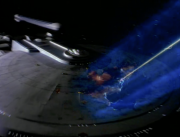
Wolf 359
Image 1
Wolf 359
Image 2
Wolf 359
Image 3
Wolf 359
Image 4
Page :
01
02
03
04
05
06
07
08
09
Colour key
Canon source
Backstage source
Novel source
DITL speculation
© Graham & Ian Kennedy
Page views : 376,572
Last updated : 24 Nov 2005