


| Canon source | Backstage source | Novel source | DITL speculation |
| # | Series | Season | Source | Comment |
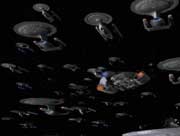
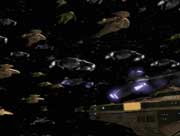
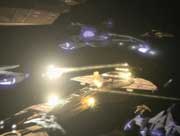
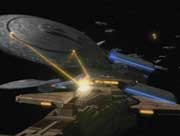
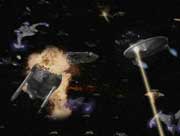
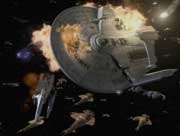
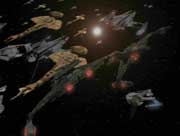
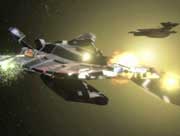
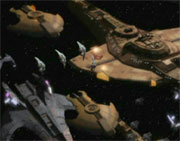
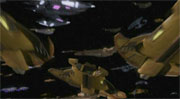
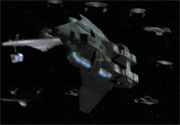
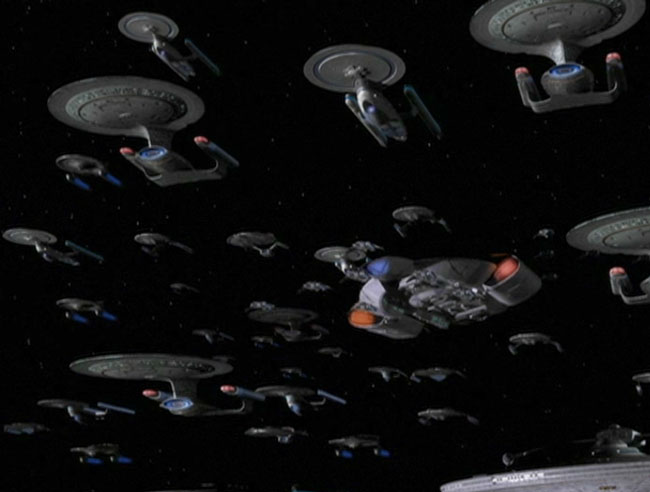
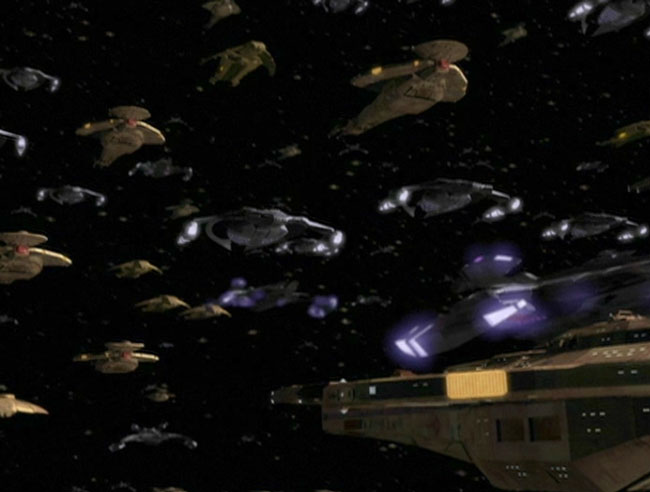
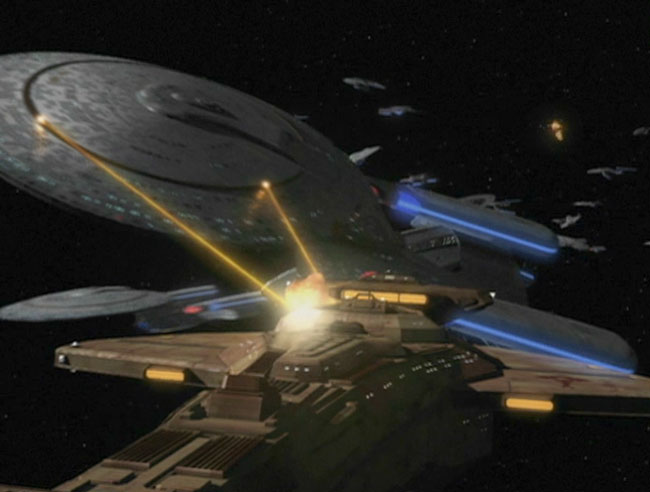
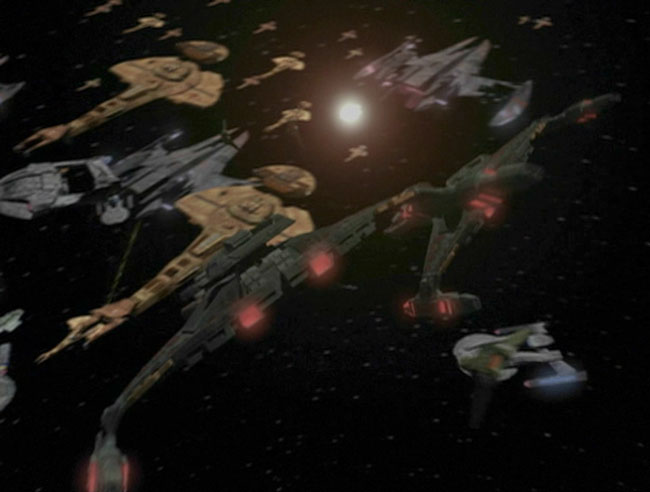
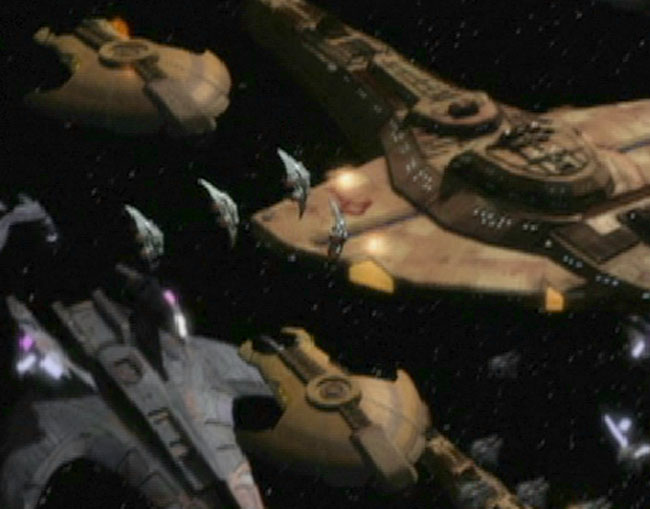
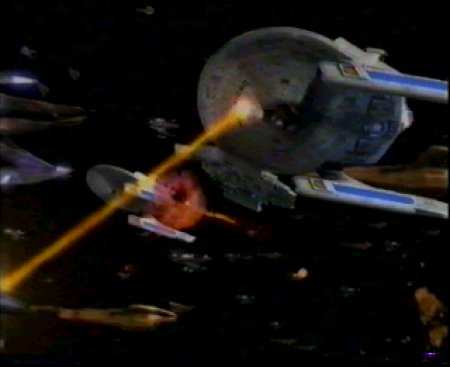
| 1 | DS9 | 6 | Sacrifice of Angels | |
| 2 | Star Trek The Next Generation Technical Manual |
| Series : | DS9 Season 6 |
| Episode : | Sacrifice of Angels |
| Book : | Star Trek The Next Generation Technical Manual |
| © Graham & Ian Kennedy | Page views : 12,138 | Last updated : 25 Jul 1998 |
