Search
Cookie Usage
Statistics
Colour Key
Sudden Death
Monthly Poll
Caption Comp
eMail Author
Shops
Ships
Fleets
Weaponry
Species
People
Timelines
Calculators
Photo Galleries
Stations
Design Lineage
Size Charts
Battles
Science / Tech
Temporal
Styling
Maps / Politics
Articles
Reviews
Lists
Recreation
Search
Site Guide
What's New
Forum
TV Series
The Original Series
The Next Generation
Deep Space Nine
Voyager
Enterprise
Discovery
Picard
Strange New Worlds
Animated TV Series
The Animated Series
Lower Decks
Prodigy
Films
Films List
The Motion Picture
The Wrath of Khan
The Search for Spock
The Voyage Home
The Final Frontier
Undiscovered Country
Generations
First Contact
Insurrection
Nemesis
Star Trek
Star Trek Into Darkness
Star Trek Beyond
Books
Encyclopedia
Chronology
TOS Tech Manual
TNG Tech Manual
DS9 Tech Manual
TNG Companion
DS9 Companion
VOY Companion
The Klingon Dictionary
Mr Scott's Guide
Inside Star Trek
The Art of Star Trek
Star Charts
TOS Nitpickers
TNG Nitpickers
DS9 Nitpickers
Quotable Star Trek
Destiny
Gods of Night
Mere Mortals
Lost Souls
Titan
Taking Wing
The Red King
Orion's Hounds
Sword of Damocles
Over a Torrent Sea
Synthesis
Fallen Gods
Starbase Vanguard
Harbinger
Summon The Thunder
Reap The Whirlwind
Open Secrets
Other Books
All books
Games
Games
Statistics
Episode statistics
Actor statistics
Writer statistics
Director statistics
Rating system
☰
Battles Gallery
Page :
01
02
03
04
05
06
07
08
09
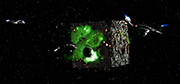
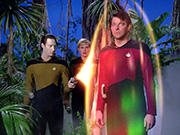
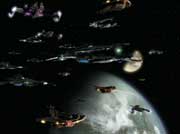
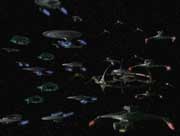
Sector 001
Image 7
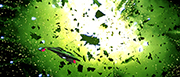
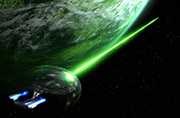
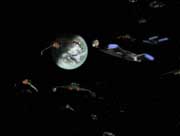
Sector 001
Image 8
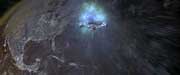
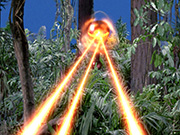
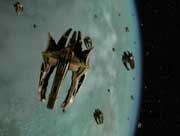
Sector 001
Image 9
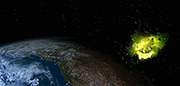
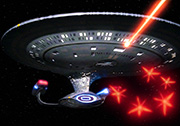
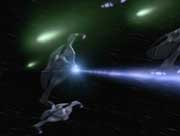
Sector 001
Image 10
Sector 001
Image 11
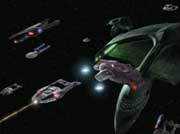
Shattered Mirror
Image 1
Shattered Mirror
Image 2
Shattered Mirror
Image 3
Shattered Mirror
Image 4
Shattered Mirror
Image 5
Shattered Mirror
Image 6
Shattered Mirror
Image 7
Shattered Mirror
Image 8
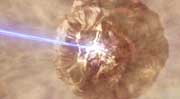
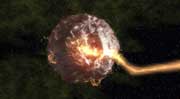
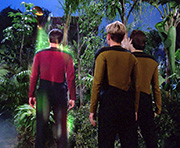
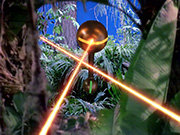
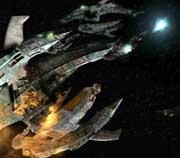
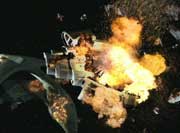
Sphere Bashing
Image 1
Sphere Bashing
Image 2
Sphere Bashing
Image 3
Sphere Bashing
Image 4
Sphere Bashing
Image 5
Sphere Bashing
Image 6
Sphere Bashing
Image 7
The Battle of Minos
Image 1
The Battle of Minos
Image 2
The Battle of Minos
Image 3
The Battle of Minos
Image 4
The Battle of Minos
Image 5
The Battle of Minos
Image 6
The Battle of Minos
Image 7
The Battle of Minos
Image 8
The Battle of Minos
Image 9
The Battle of Minos
Image 10
The Chin'koka Retreat
Image 1
The Chin'koka Retreat
Image 2
The Chin'koka Retreat
Image 3
The Chin'koka Retreat
Image 4
The Chin'koka Retreat
Image 5
The Chin'koka Retreat
Image 6
The Chin'toka Invasion
Image 1
The Chin'toka Invasion
Image 2
The Chin'toka Invasion
Image 3
The Chin'toka Invasion
Image 4
The Chin'toka Invasion
Image 5
The Chin'toka Invasion
Image 6
The Chin'toka Invasion
Image 7
The Chin'toka Invasion
Image 8
The Chin'toka Invasion
Image 9
The Chin'toka Invasion
Image 10
The Chin'toka Invasion
Image 11
The Chin'toka Invasion
Image 12
The Deadly Years
Image 1
The Deadly Years
Image 2
The Deadly Years
Image 3
The Deadly Years
Image 4
The Deadly Years
Image 5
The Deadly Years
Image 6
The Deadly Years
Image 7
The Dominion War
Image 1
The Dominion War
Image 2
The Dominion War
Image 3
The Dominion War
Image 4
The Dominion War
Image 5
Page :
01
02
03
04
05
06
07
08
09
Colour key
Canon source
Backstage source
Novel source
DITL speculation
© Graham & Ian Kennedy
Page views : 241,187
Last updated : 24 Nov 2005