Search
Cookie Usage
Statistics
Colour Key
Sudden Death
Monthly Poll
Caption Comp
eMail Author
Shops
Ships
Fleets
Weaponry
Species
People
Timelines
Calculators
Photo Galleries
Stations
Design Lineage
Size Charts
Battles
Science / Tech
Temporal
Styling
Maps / Politics
Articles
Reviews
Lists
Recreation
Search
Site Guide
What's New
Forum
Federation Technology
Ablative Armour
Antigrav Units
Atmospheric filter
Comms Devices
Computers
Exocomps
Force Fields
Genesis Device
Holographic Technology
Impulse Engines
Medical Technology
Navigational Deflectors
Particle Fountain
Replicators
Soliton Wave Drive
Sonic Shower
Stellar Cartography
Stellar Re‑Ignition
Terraforming
Tractor Beams
Transporters
Tricorders
Universal Translator
Viridium Tracking
Warp Drive
Warp Scales
Miscellaneous
Androids
Cloaking Device
Cloning
Co‑axial Warp Core
Comets
Cryostasis
D'Arsay Archive
Dimensional Shift
Drones
Guardian of Forever
Hypergiant Star
Iconian Gateway
Mind Probe
Neutron Stars
Null Space Catapult
Orbital Tether
Parallel Dimensions
Particles
Planetary Classes
Planetary Collision
Preserver Cannon
Probes
Psionic Resonator
Quantum Slipstream
Spatial Anomalies
Special Powers
Subspace Amplifier
Subspace Phenomena
Sunshield
Trajector
Transwarp
Underspace Corridor
Vaal
Verteron Array
Virtual Reality Headset
Vision Augmentation
Wormholes
Additional Sci‑Tech
☰
Battles Gallery
Page :
01
02
03
04
05
06
07
08
09
Azati Prime
Image 2
Azati Prime
Image 3
Azati Prime
Image 4
Azati Prime
Image 5
Azati Prime
Image 6
Azati Prime
Image 7
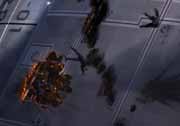
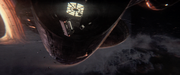
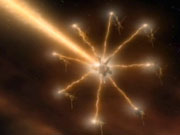
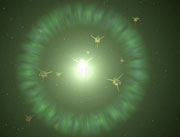
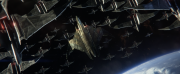
Battle of the Brown Dwarf
Image 1
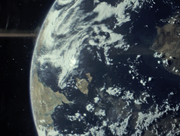
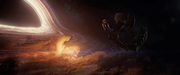
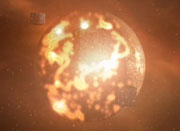
Battle of the Brown Dwarf
Image 2
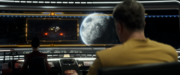
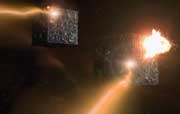
Battle of the Brown Dwarf
Image 3
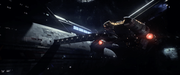
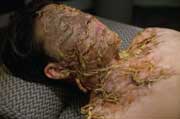
Battle of the Brown Dwarf
Image 4
Battle of the Brown Dwarf
Image 5
Battle of the Brown Dwarf
Image 6
Battle of the Brown Dwarf
Image 7
Battle of the Brown Dwarf
Image 8
Battle of the Brown Dwarf
Image 9
Battle of the Brown Dwarf
Image 10
Battle of the Brown Dwarf
Image 11
Battle of the Brown Dwarf
Image 12
Battle of the Brown Dwarf
Image 13
Battle of the Brown Dwarf
Image 14
Battle of the Brown Dwarf
Image 15
Battle of the Brown Dwarf
Image 16
Battle of the Brown Dwarf
Image 17
Battle of the Brown Dwarf
Image 18
Battle of the Brown Dwarf
Image 19
Battle of the Brown Dwarf
Image 20
Battle of the Brown Dwarf
Image 21
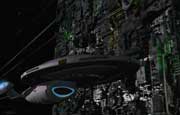
Borg / 8472 War
Image 1
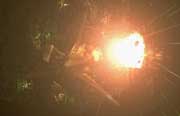
Borg / 8472 War
Image 2
Borg / 8472 War
Image 3
Borg / 8472 War
Image 4
Borg / 8472 War
Image 5
Borg / 8472 War
Image 6
Borg / 8472 War
Image 7
Borg / 8472 War
Image 8
Borg / 8472 War
Image 9
Borg / 8472 War
Image 10
Borg / 8472 War
Image 11
Borg / 8472 War
Image 12
Borg / 8472 War
Image 13
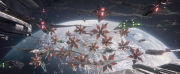
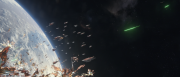
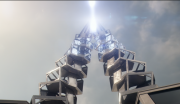
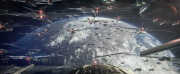
Coppelius battle
Image 1
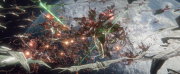
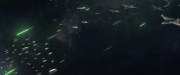
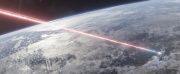
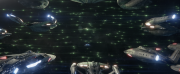
Coppelius battle
Image 2
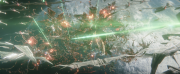
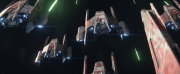
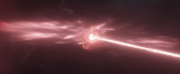
Coppelius battle
Image 3
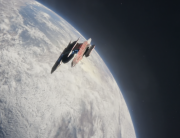
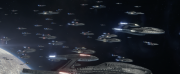
Coppelius battle
Image 4
Coppelius battle
Image 5
Coppelius battle
Image 6
Coppelius battle
Image 7
Coppelius battle
Image 8
Coppelius battle
Image 9
Coppelius battle
Image 10
Coppelius battle
Image 11
Coppelius battle
Image 12
Coppelius battle
Image 13
Coppelius battle
Image 14
Coppelius battle
Image 15
Coppelius battle
Image 16
Coppelius battle
Image 17
Coppelius battle
Image 18
Coppelius battle
Image 19
Coppelius battle
Image 20
Page :
01
02
03
04
05
06
07
08
09
Colour key
Canon source
Backstage source
Novel source
DITL speculation
© Graham & Ian Kennedy
Page views : 244,338
Last updated : 24 Nov 2005