Texturing the Cerberus
Posted: Sun Nov 18, 2018 12:40 pm
This one turned out to be waaay harder to texture. For one, I had to basically rebuild almost the whole model from scratch. The way you texture something is to use a process called "unwrapping" to spread the model's surface out flat over an image. But unwrapping works best on objects that are nice and clean - cylinders, spheres, cubes, etc. The primary hull is a distorted sphere, so that works okay... until you cut holes in it for windows, airlocks, etc. If you try to unwrap it after that, blender can go a bit crazy and give you weird distorted shapes that make the hull texture look very odd. So I had to rebuild the primary hull, the engineering hull, and the nacelle struts. Oddly, it textured the nacelles themselves just fine.
Before and afters...


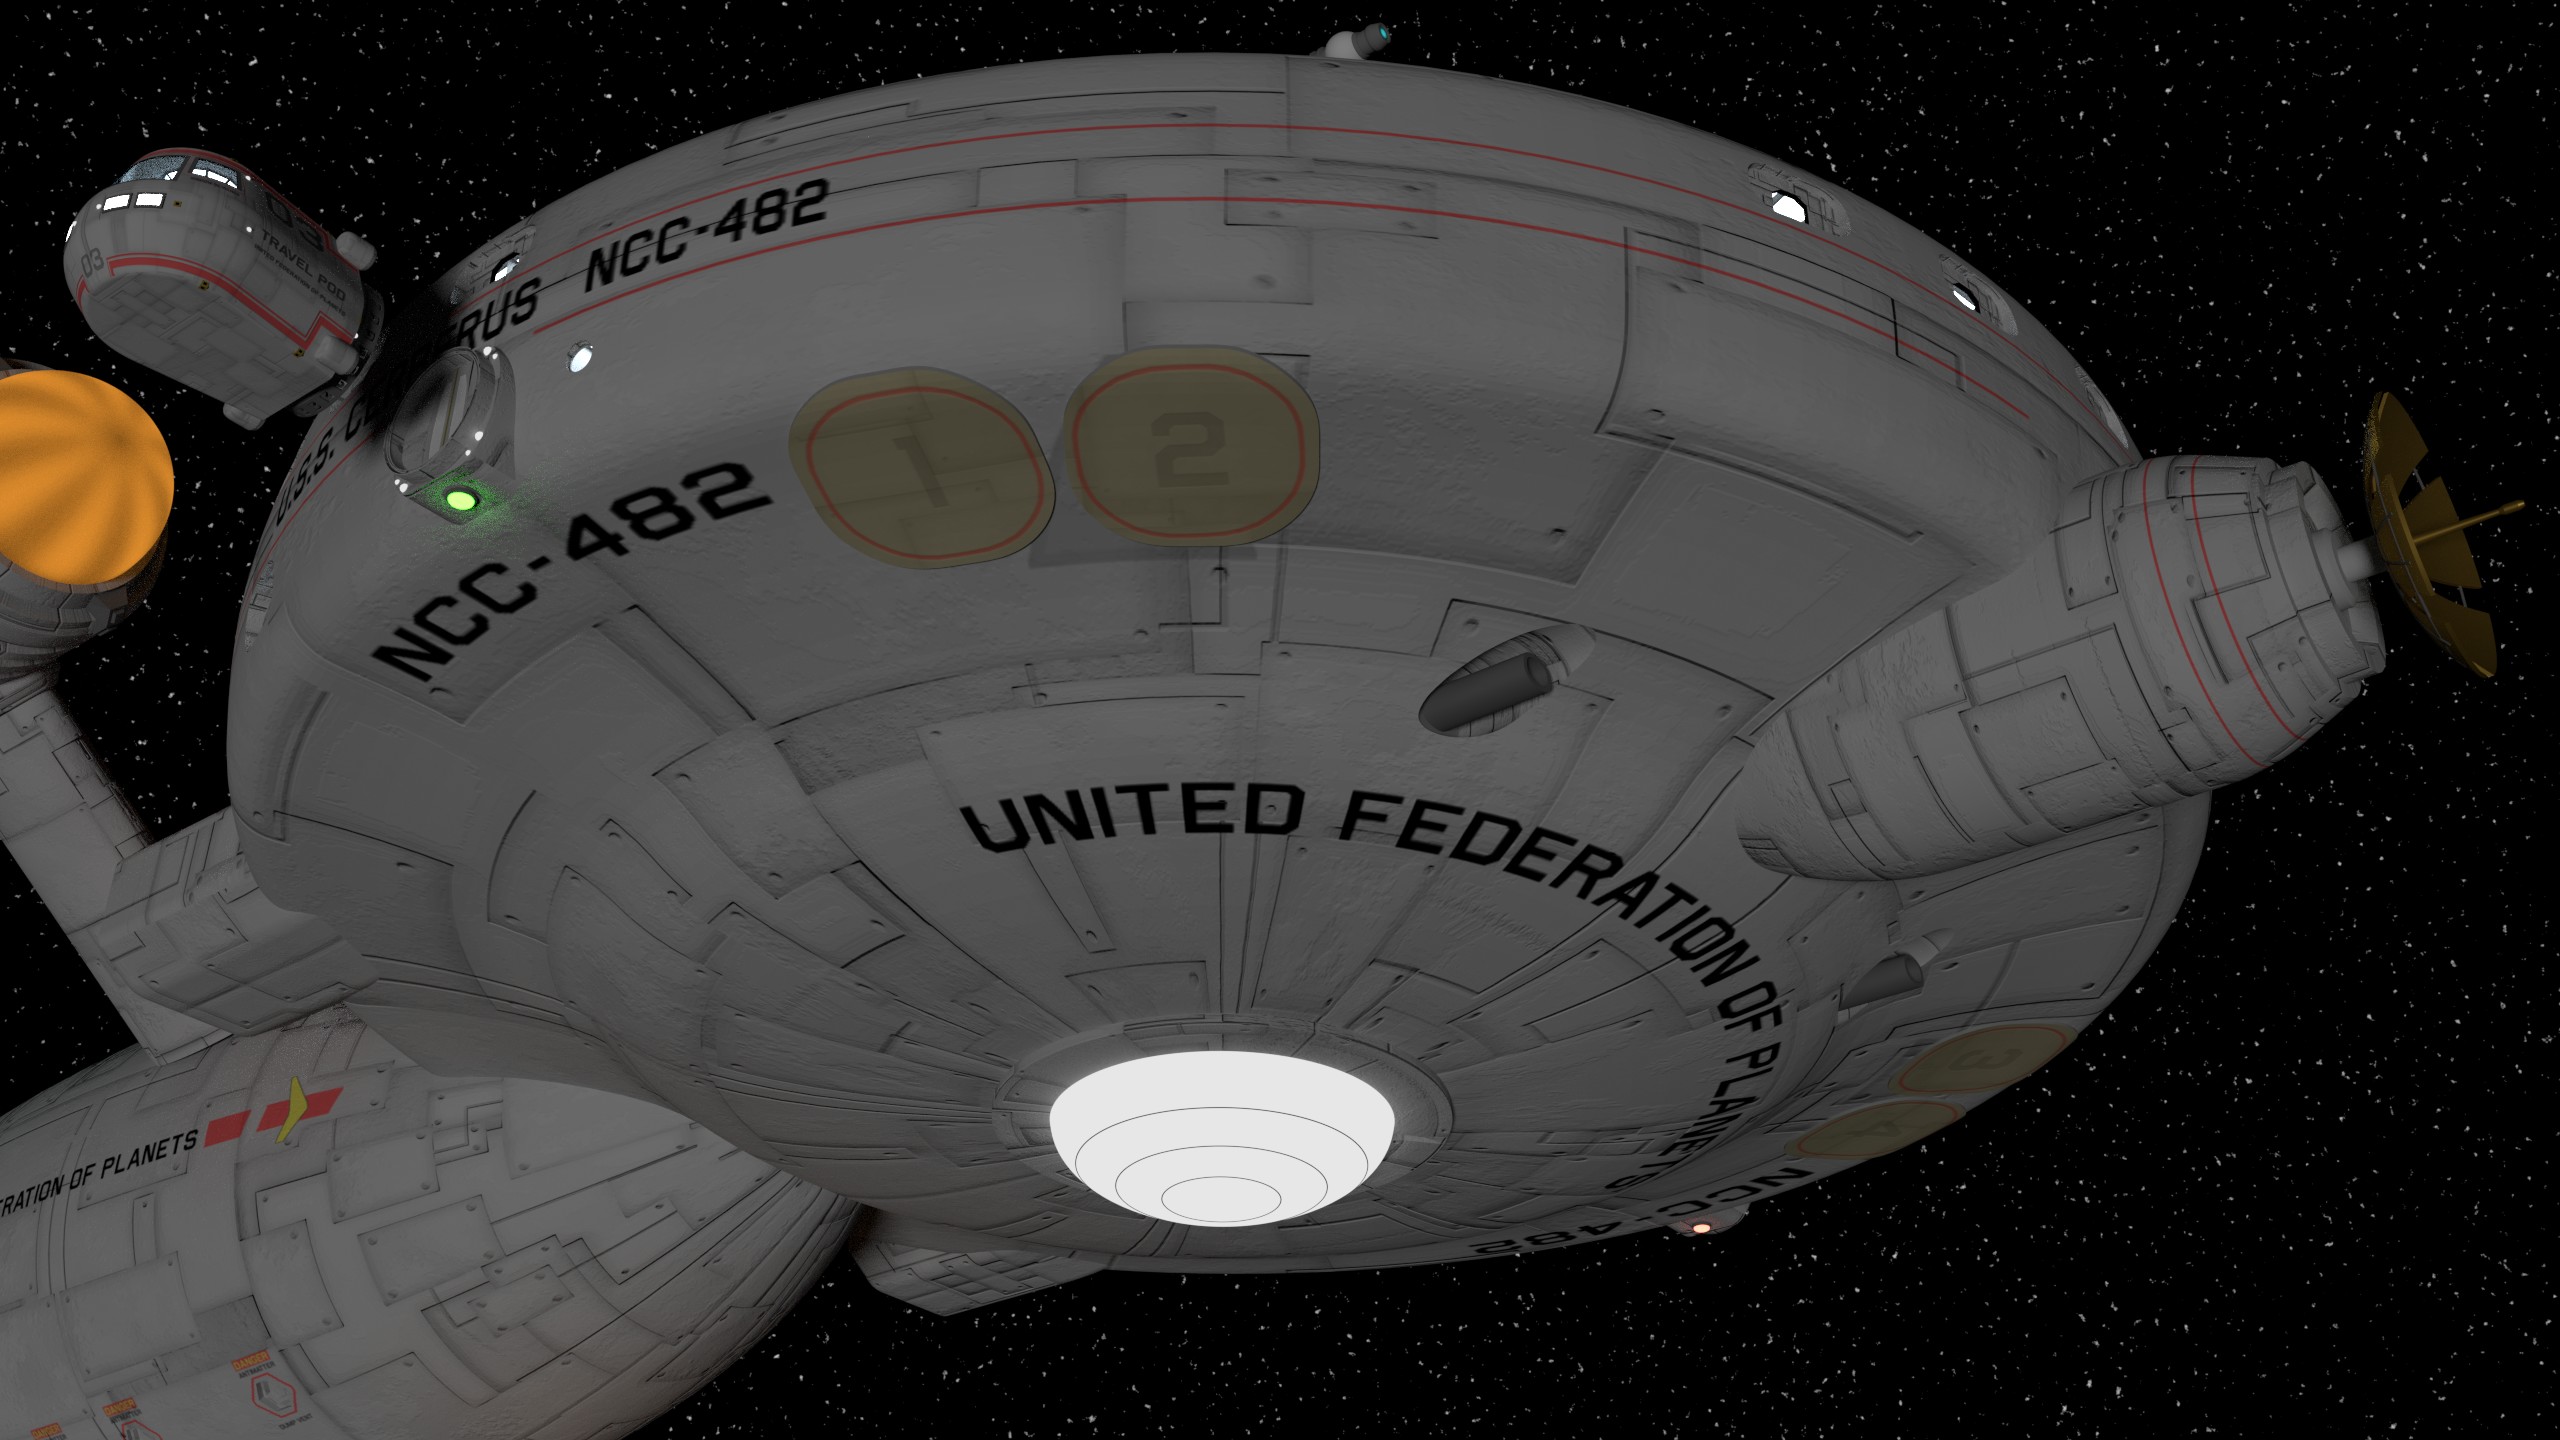
On the original design the escape pod hatch covers are barely visible, though they are there. Now they're textured and numbered.


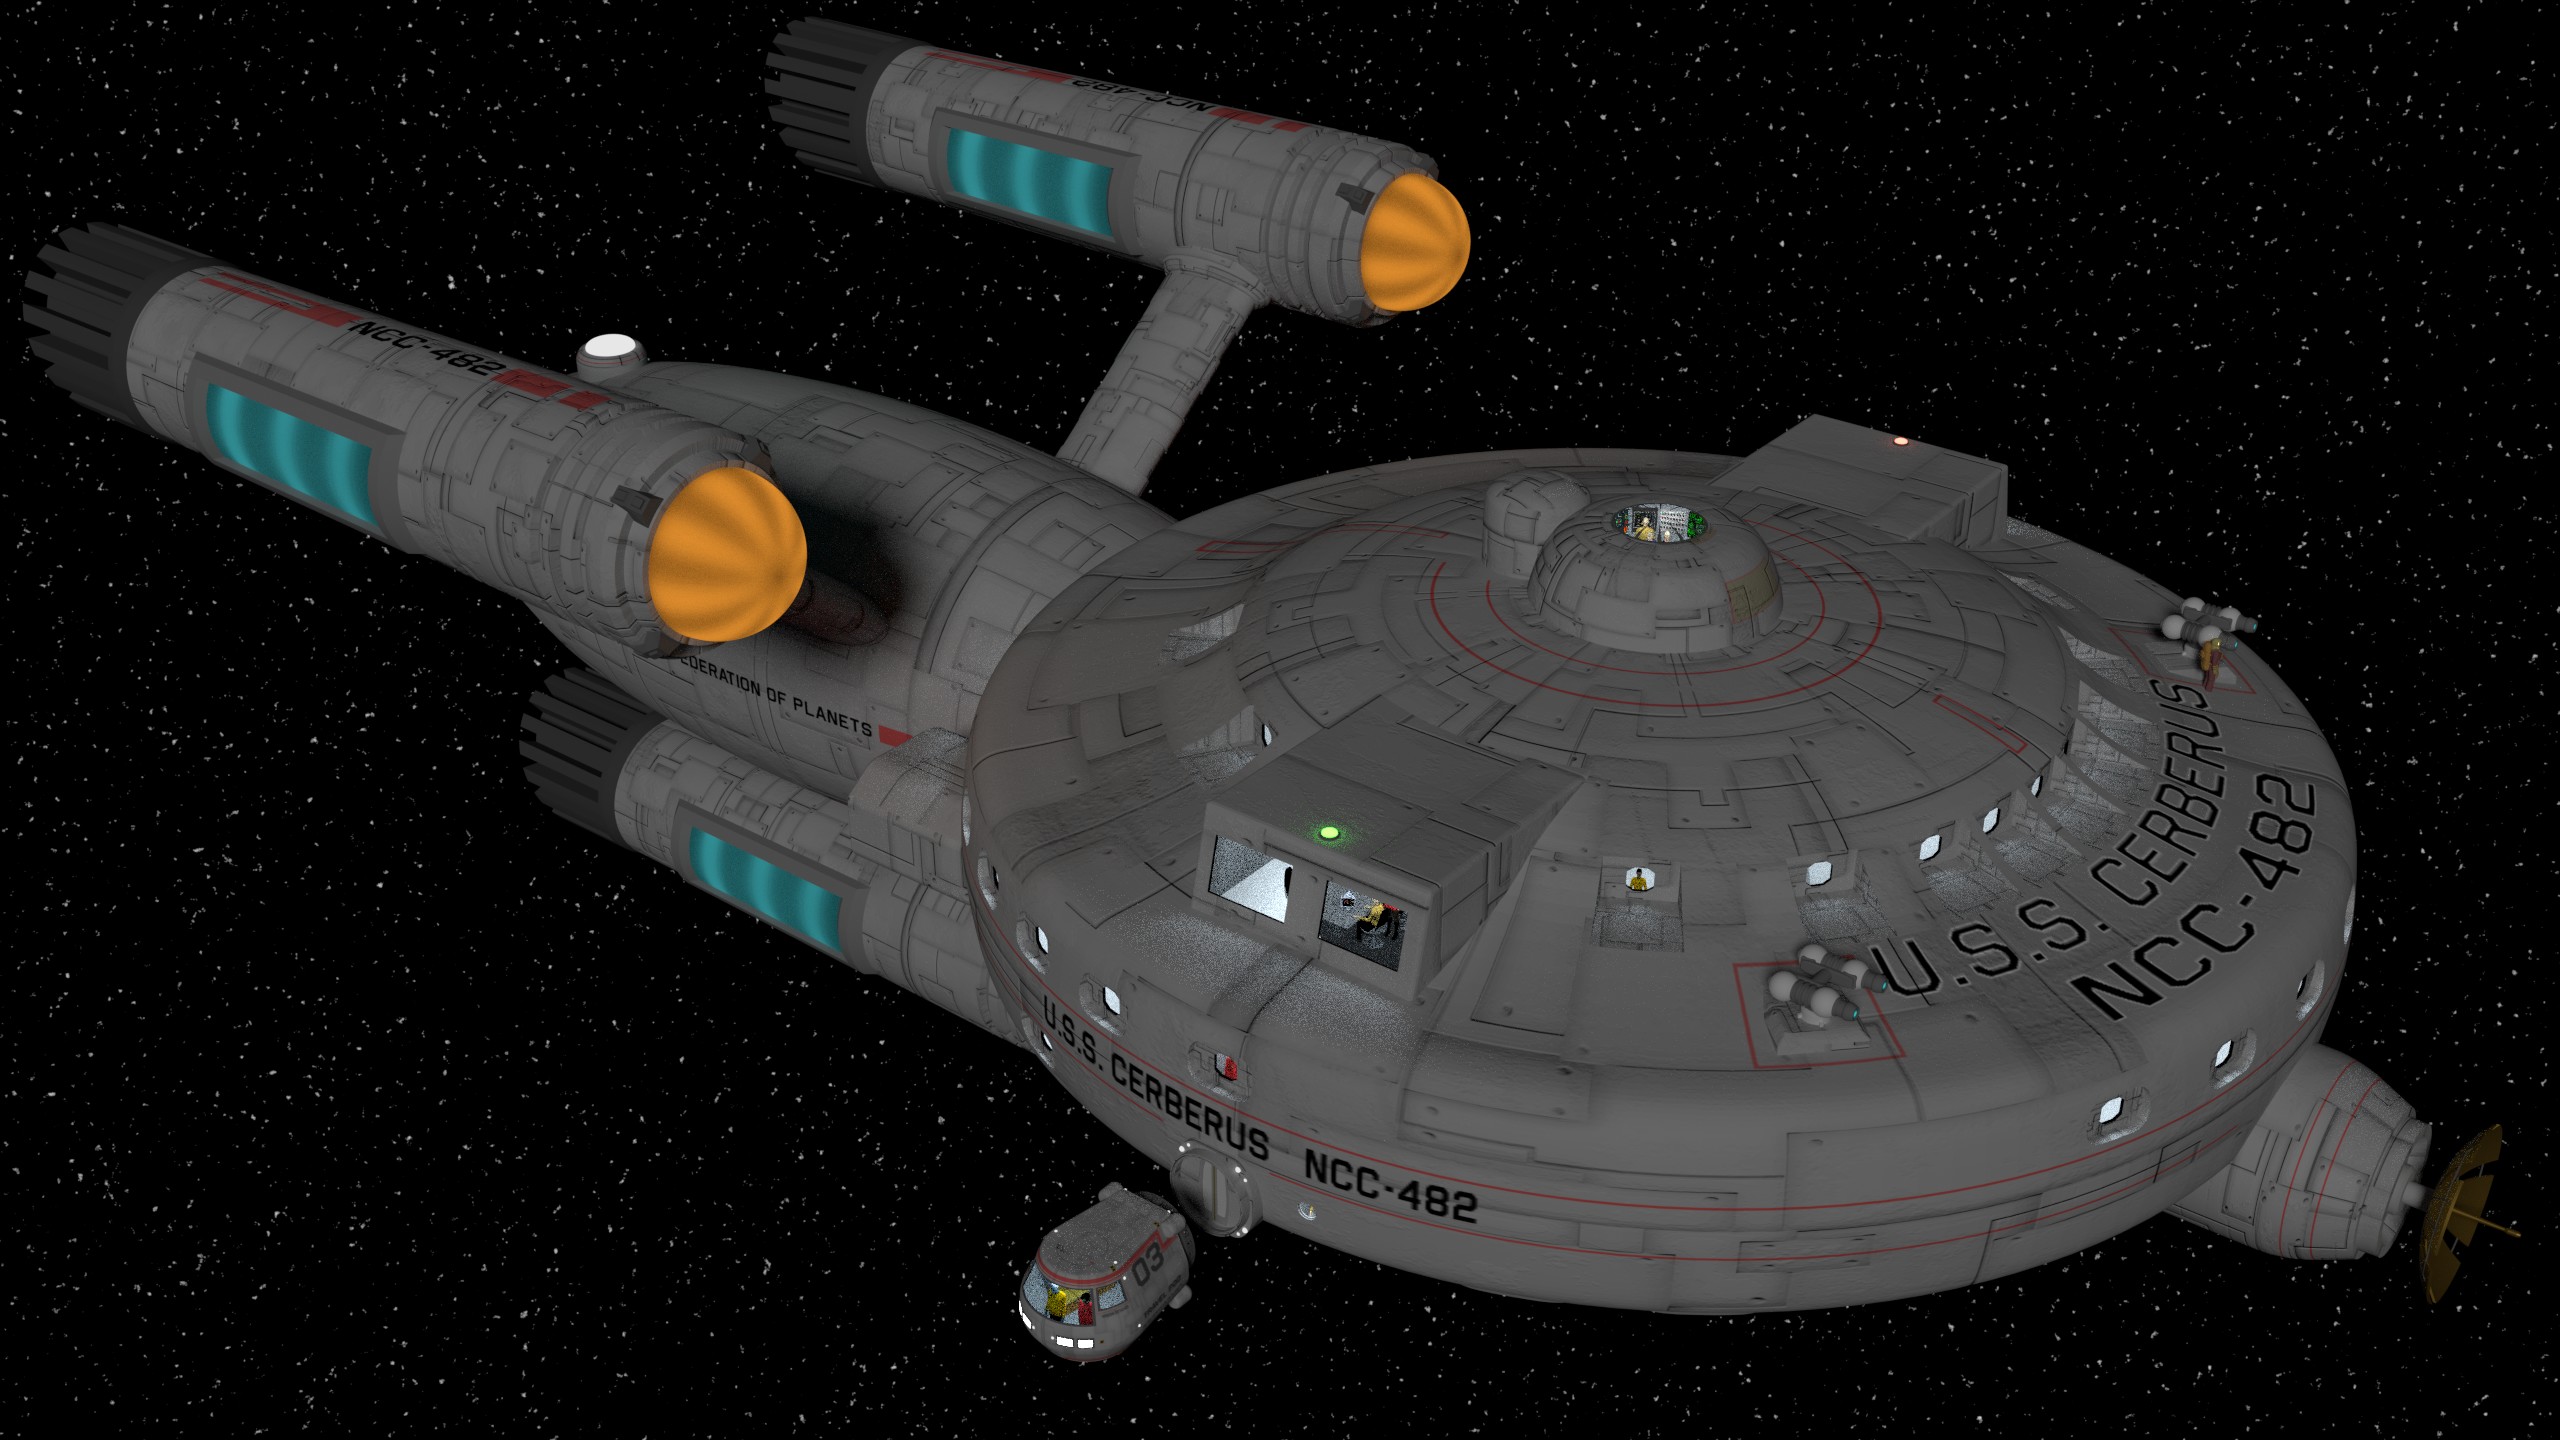
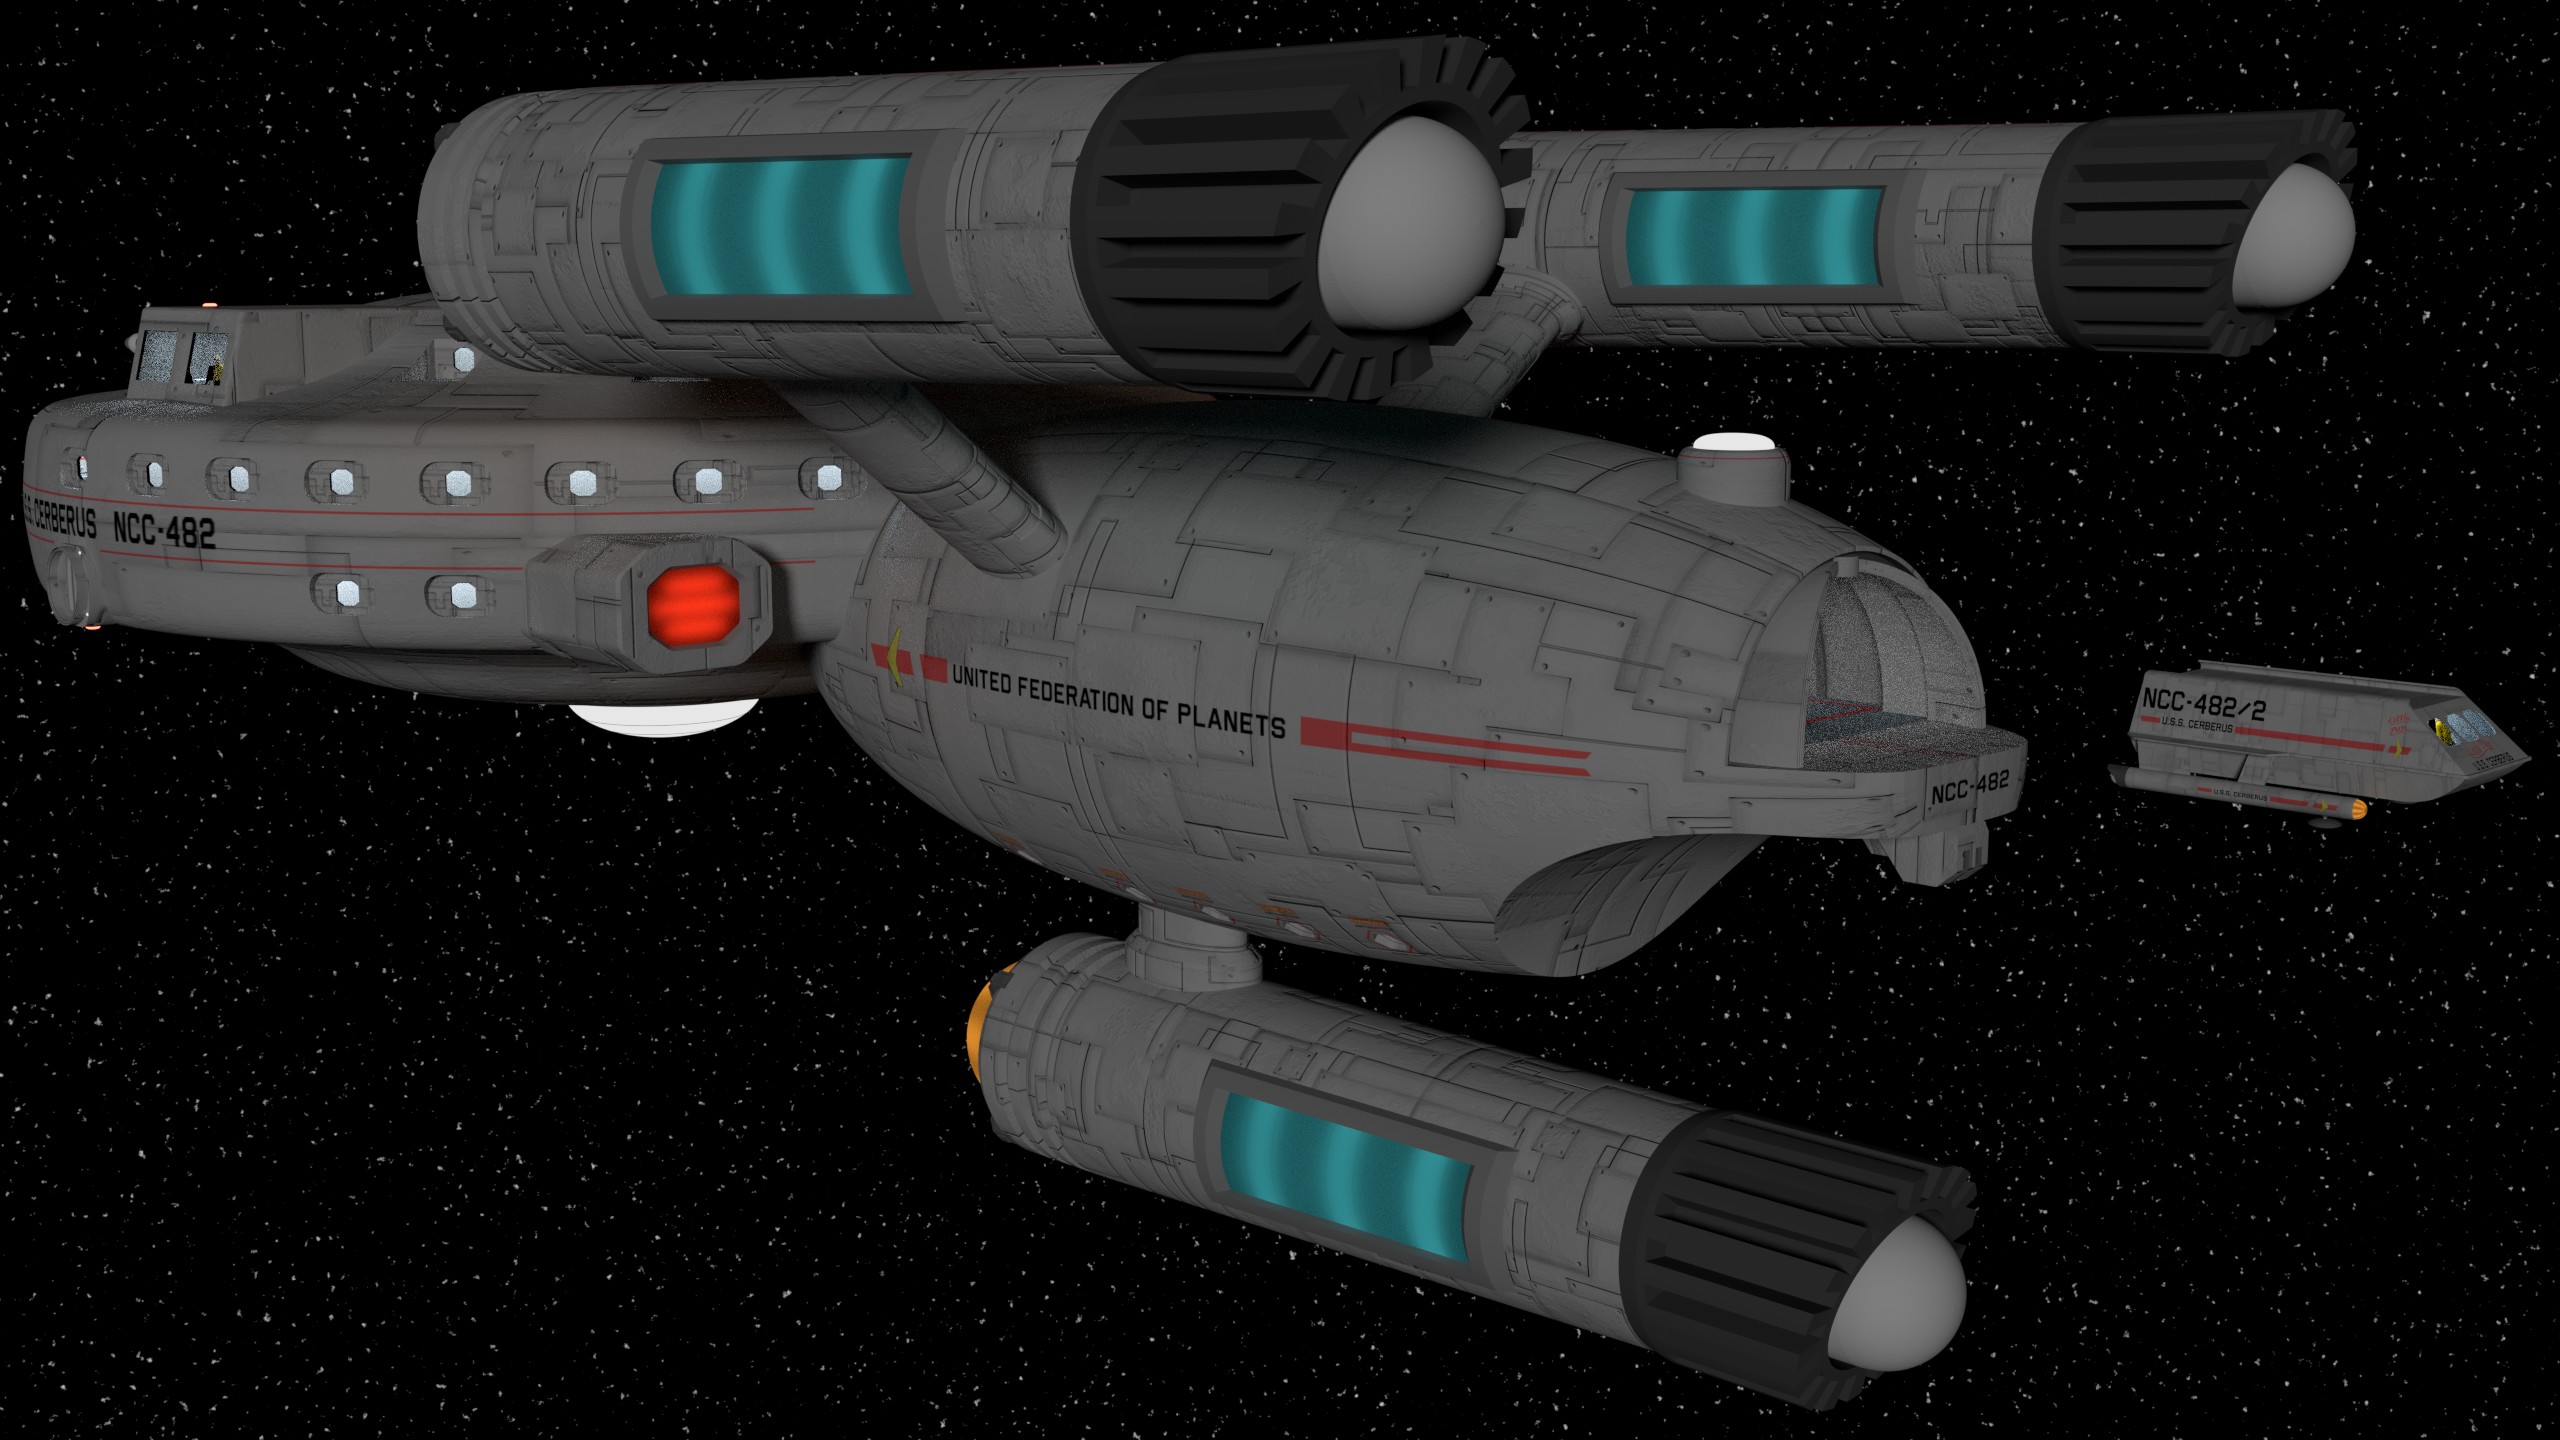
Funny, I showed this to T'Pau yesterday and the first thing she said was "Oh, it's called Cerberus because it had three heads, and the ship has three nacelles?" And in all the time I've spent working on this ship, that thought had never once crossed my mind! But it's so obvious once you think of it.


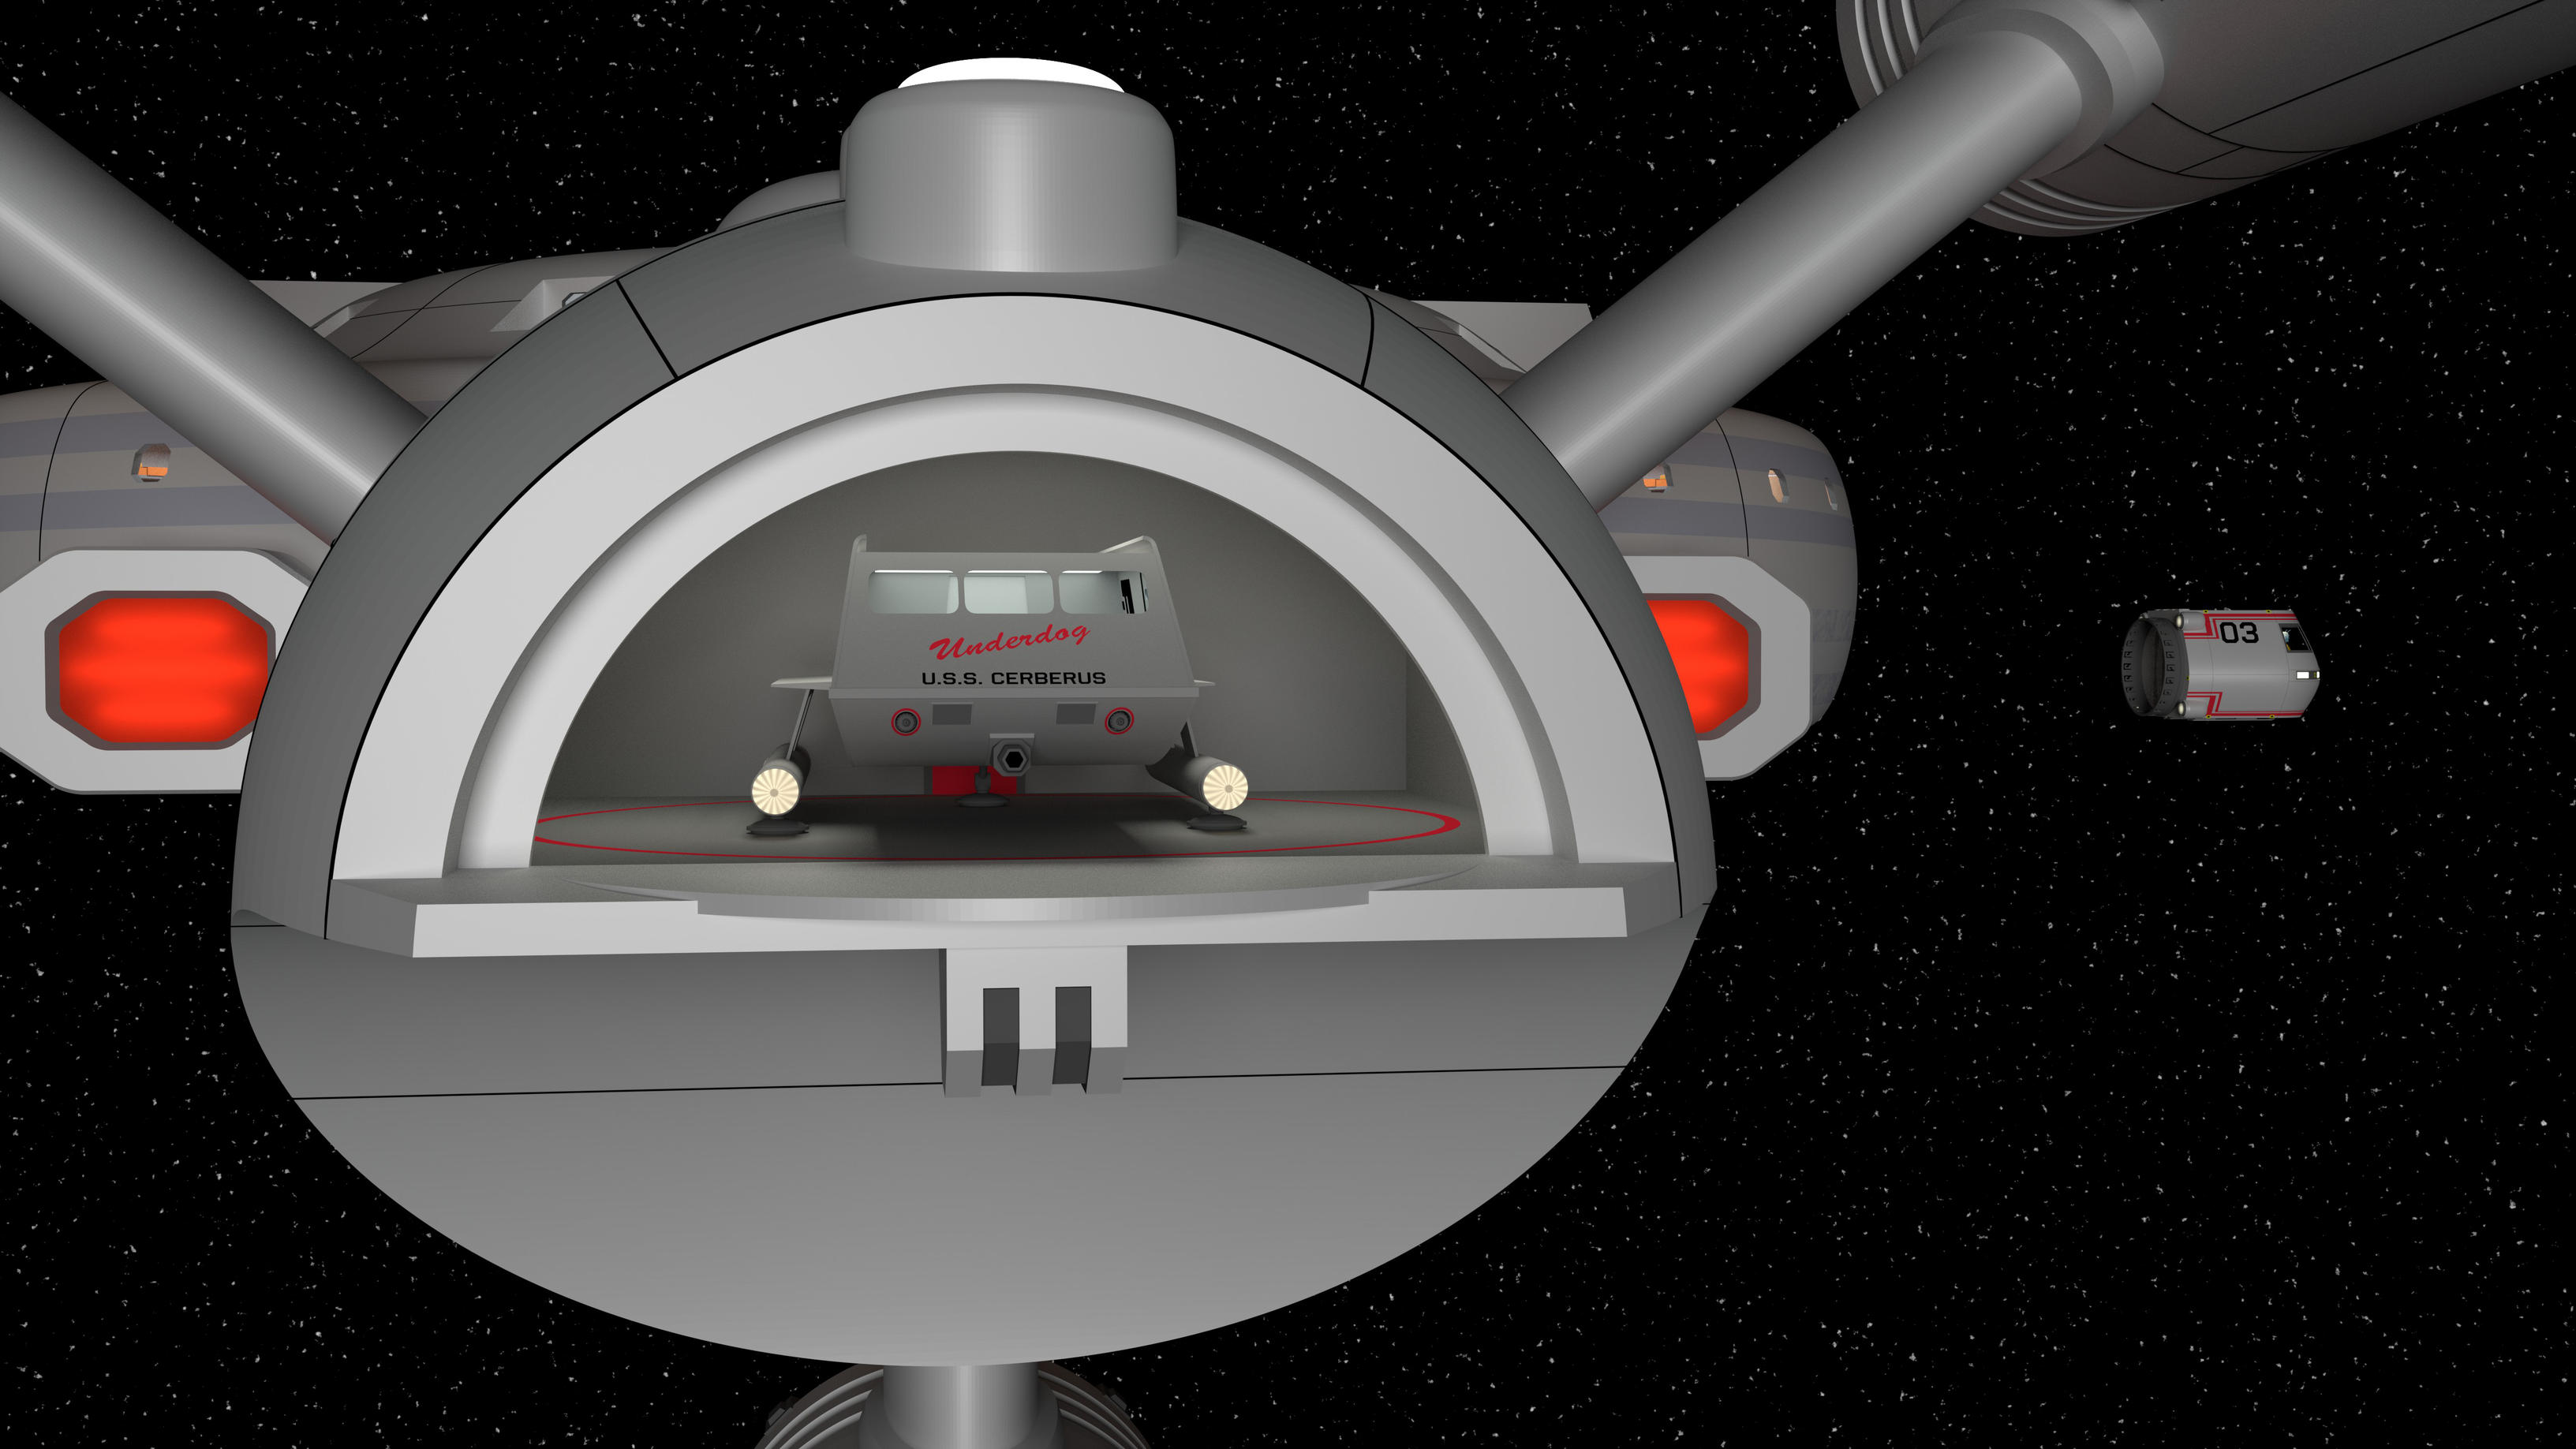
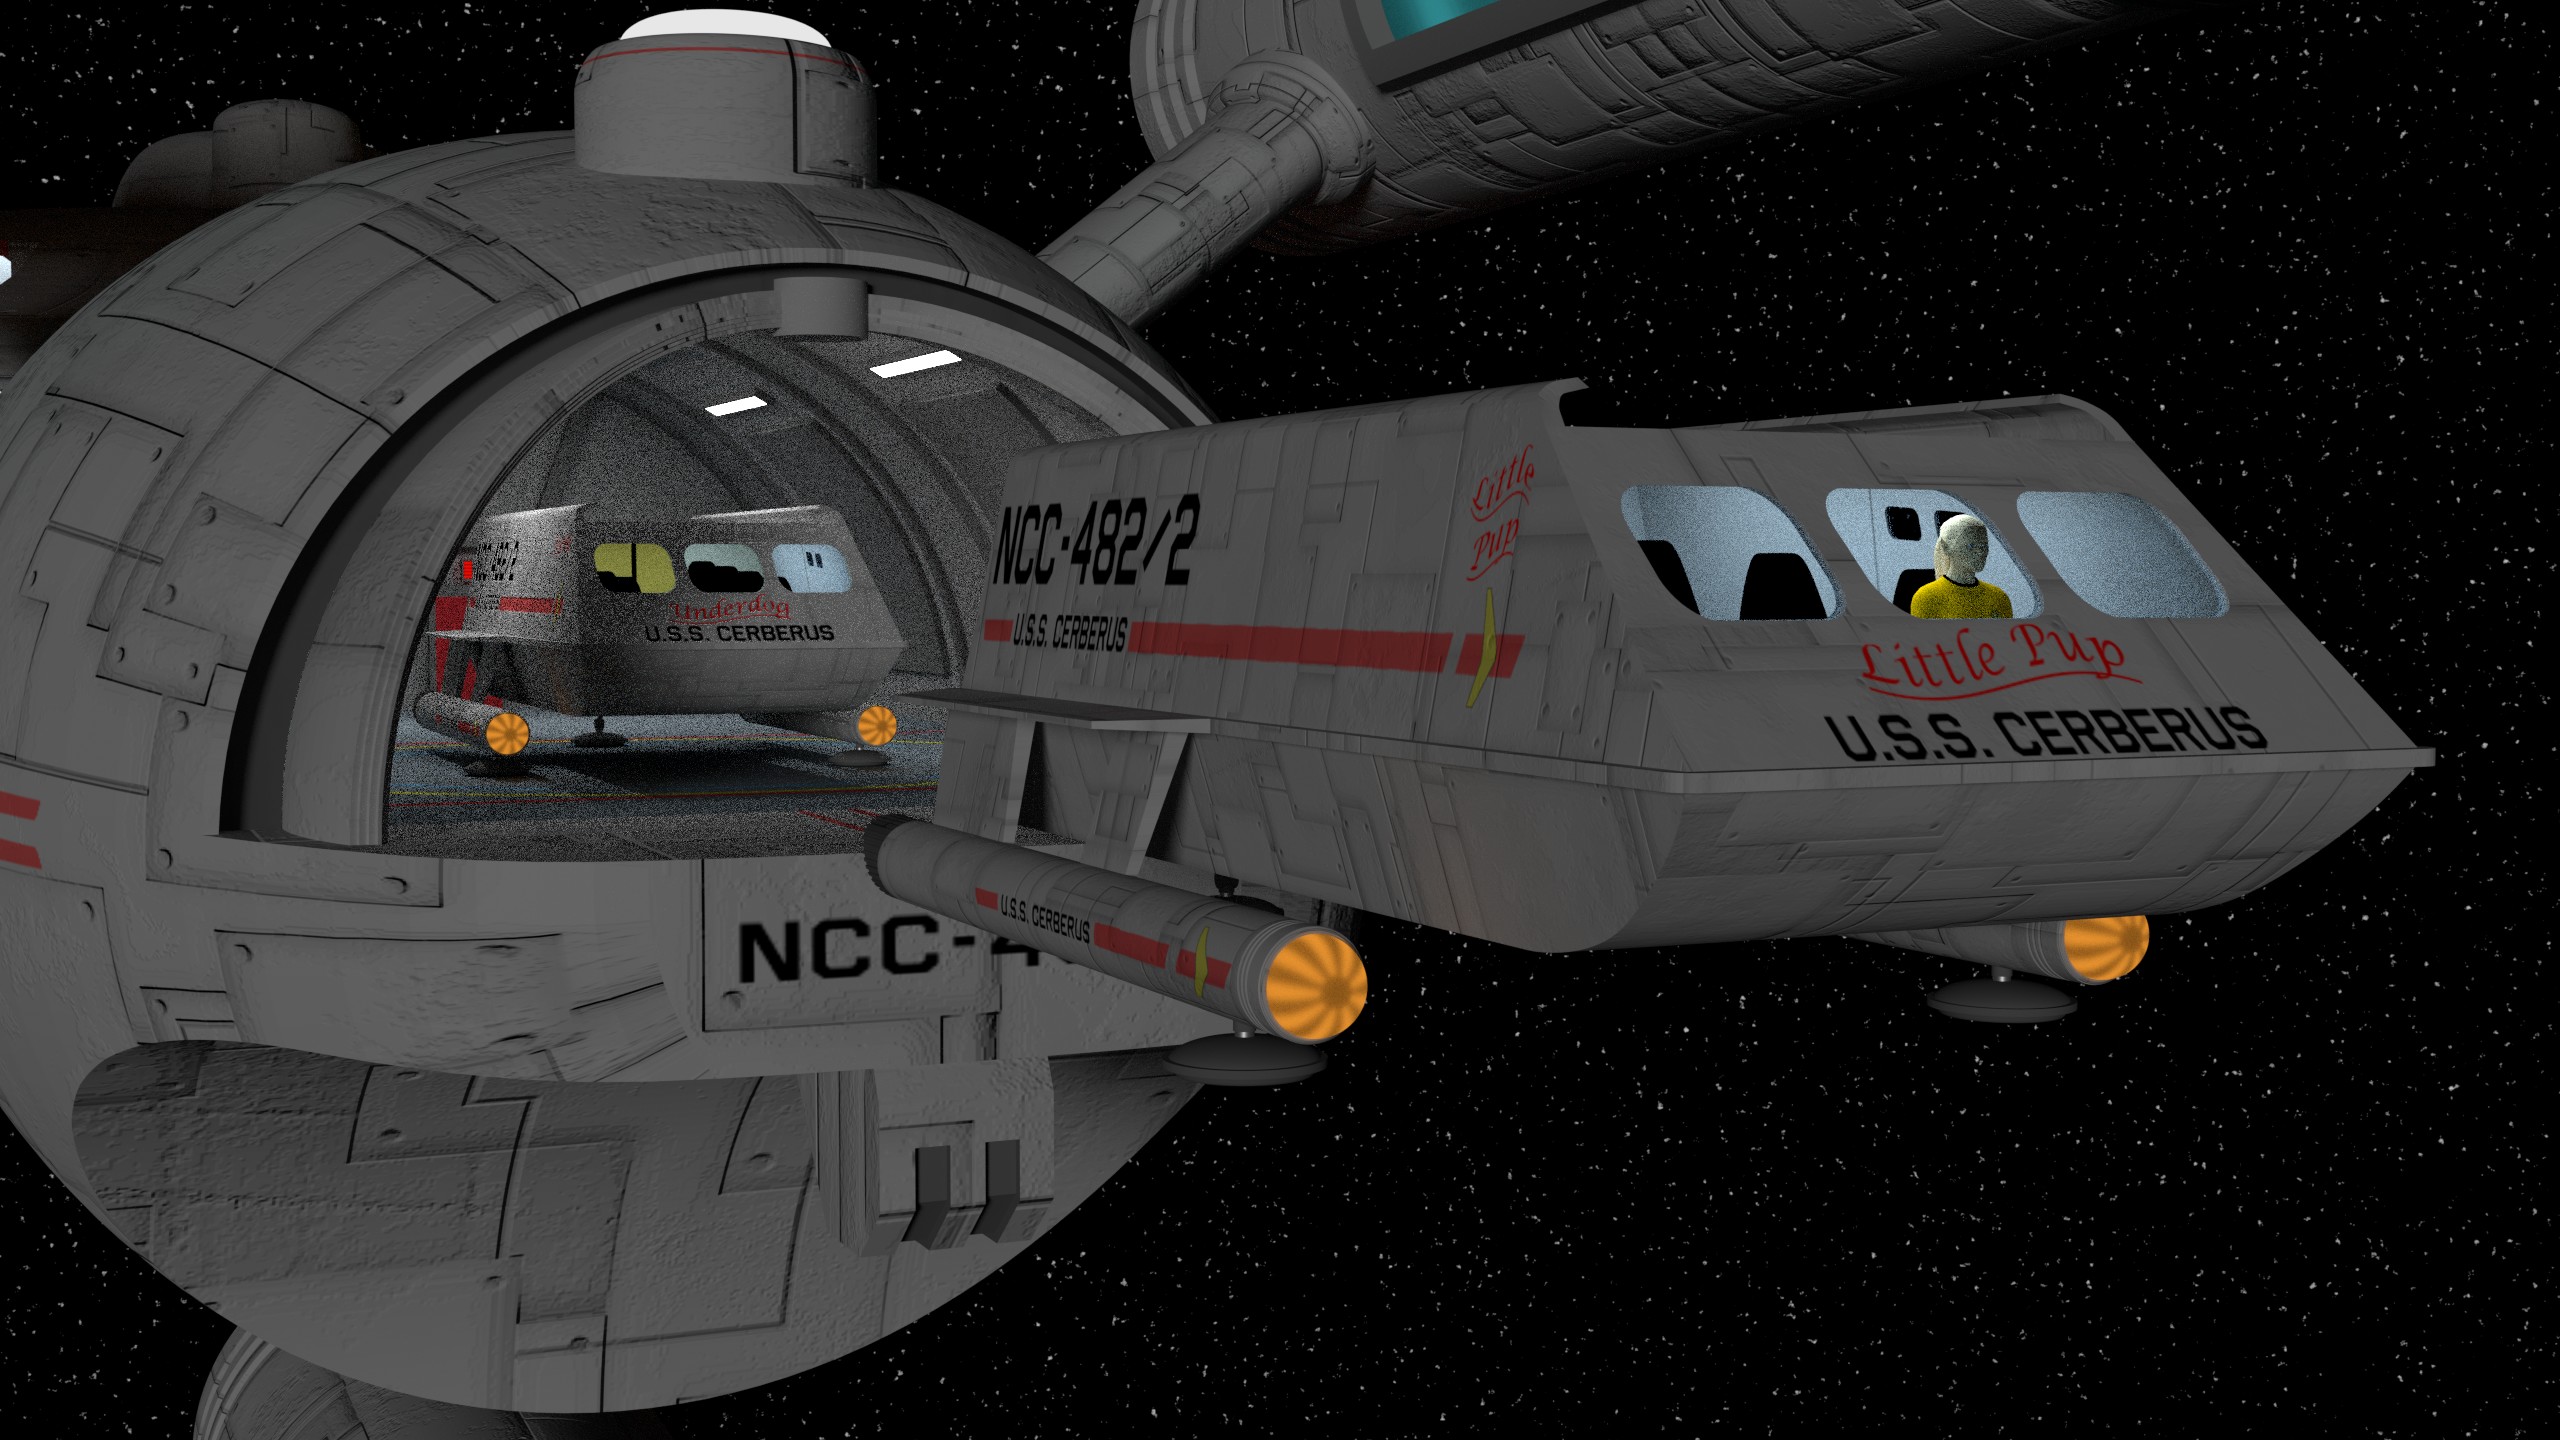
Another thing that made this a far more difficult job to texture is that it's not just the main ship - I had to create a shuttlecraft from scratch and texture that, too. One great thing about textures - I find them fiddly to set up, but once they are set up they can make life really easy. On my old shuttle design I created the hull lettering by literally creating the text as a 3D object in blender, then putting that so it intersected the hull. Then I used a function called a boolean, which chops off all the parts of the text that are sticking out. Hey presto, you have text that matches the hull surface. It's fiddly and takes an insanely long time - there are cases where I had to repeat that process one letter at a time, to make the text fit the curvature on a hull!
Now I have a textured shuttle, however, all I have to do to make another one is go back to the texture image in photoshop, change the text, and save it as a new texture. So now that the hard work of setting up the texture is done, I can make new shuttles in minutes.
Cerberus has up to three shuttles. In keeping with the doggie theme I've called two of them Little Pup and Underdog. Any suggestions for the third?


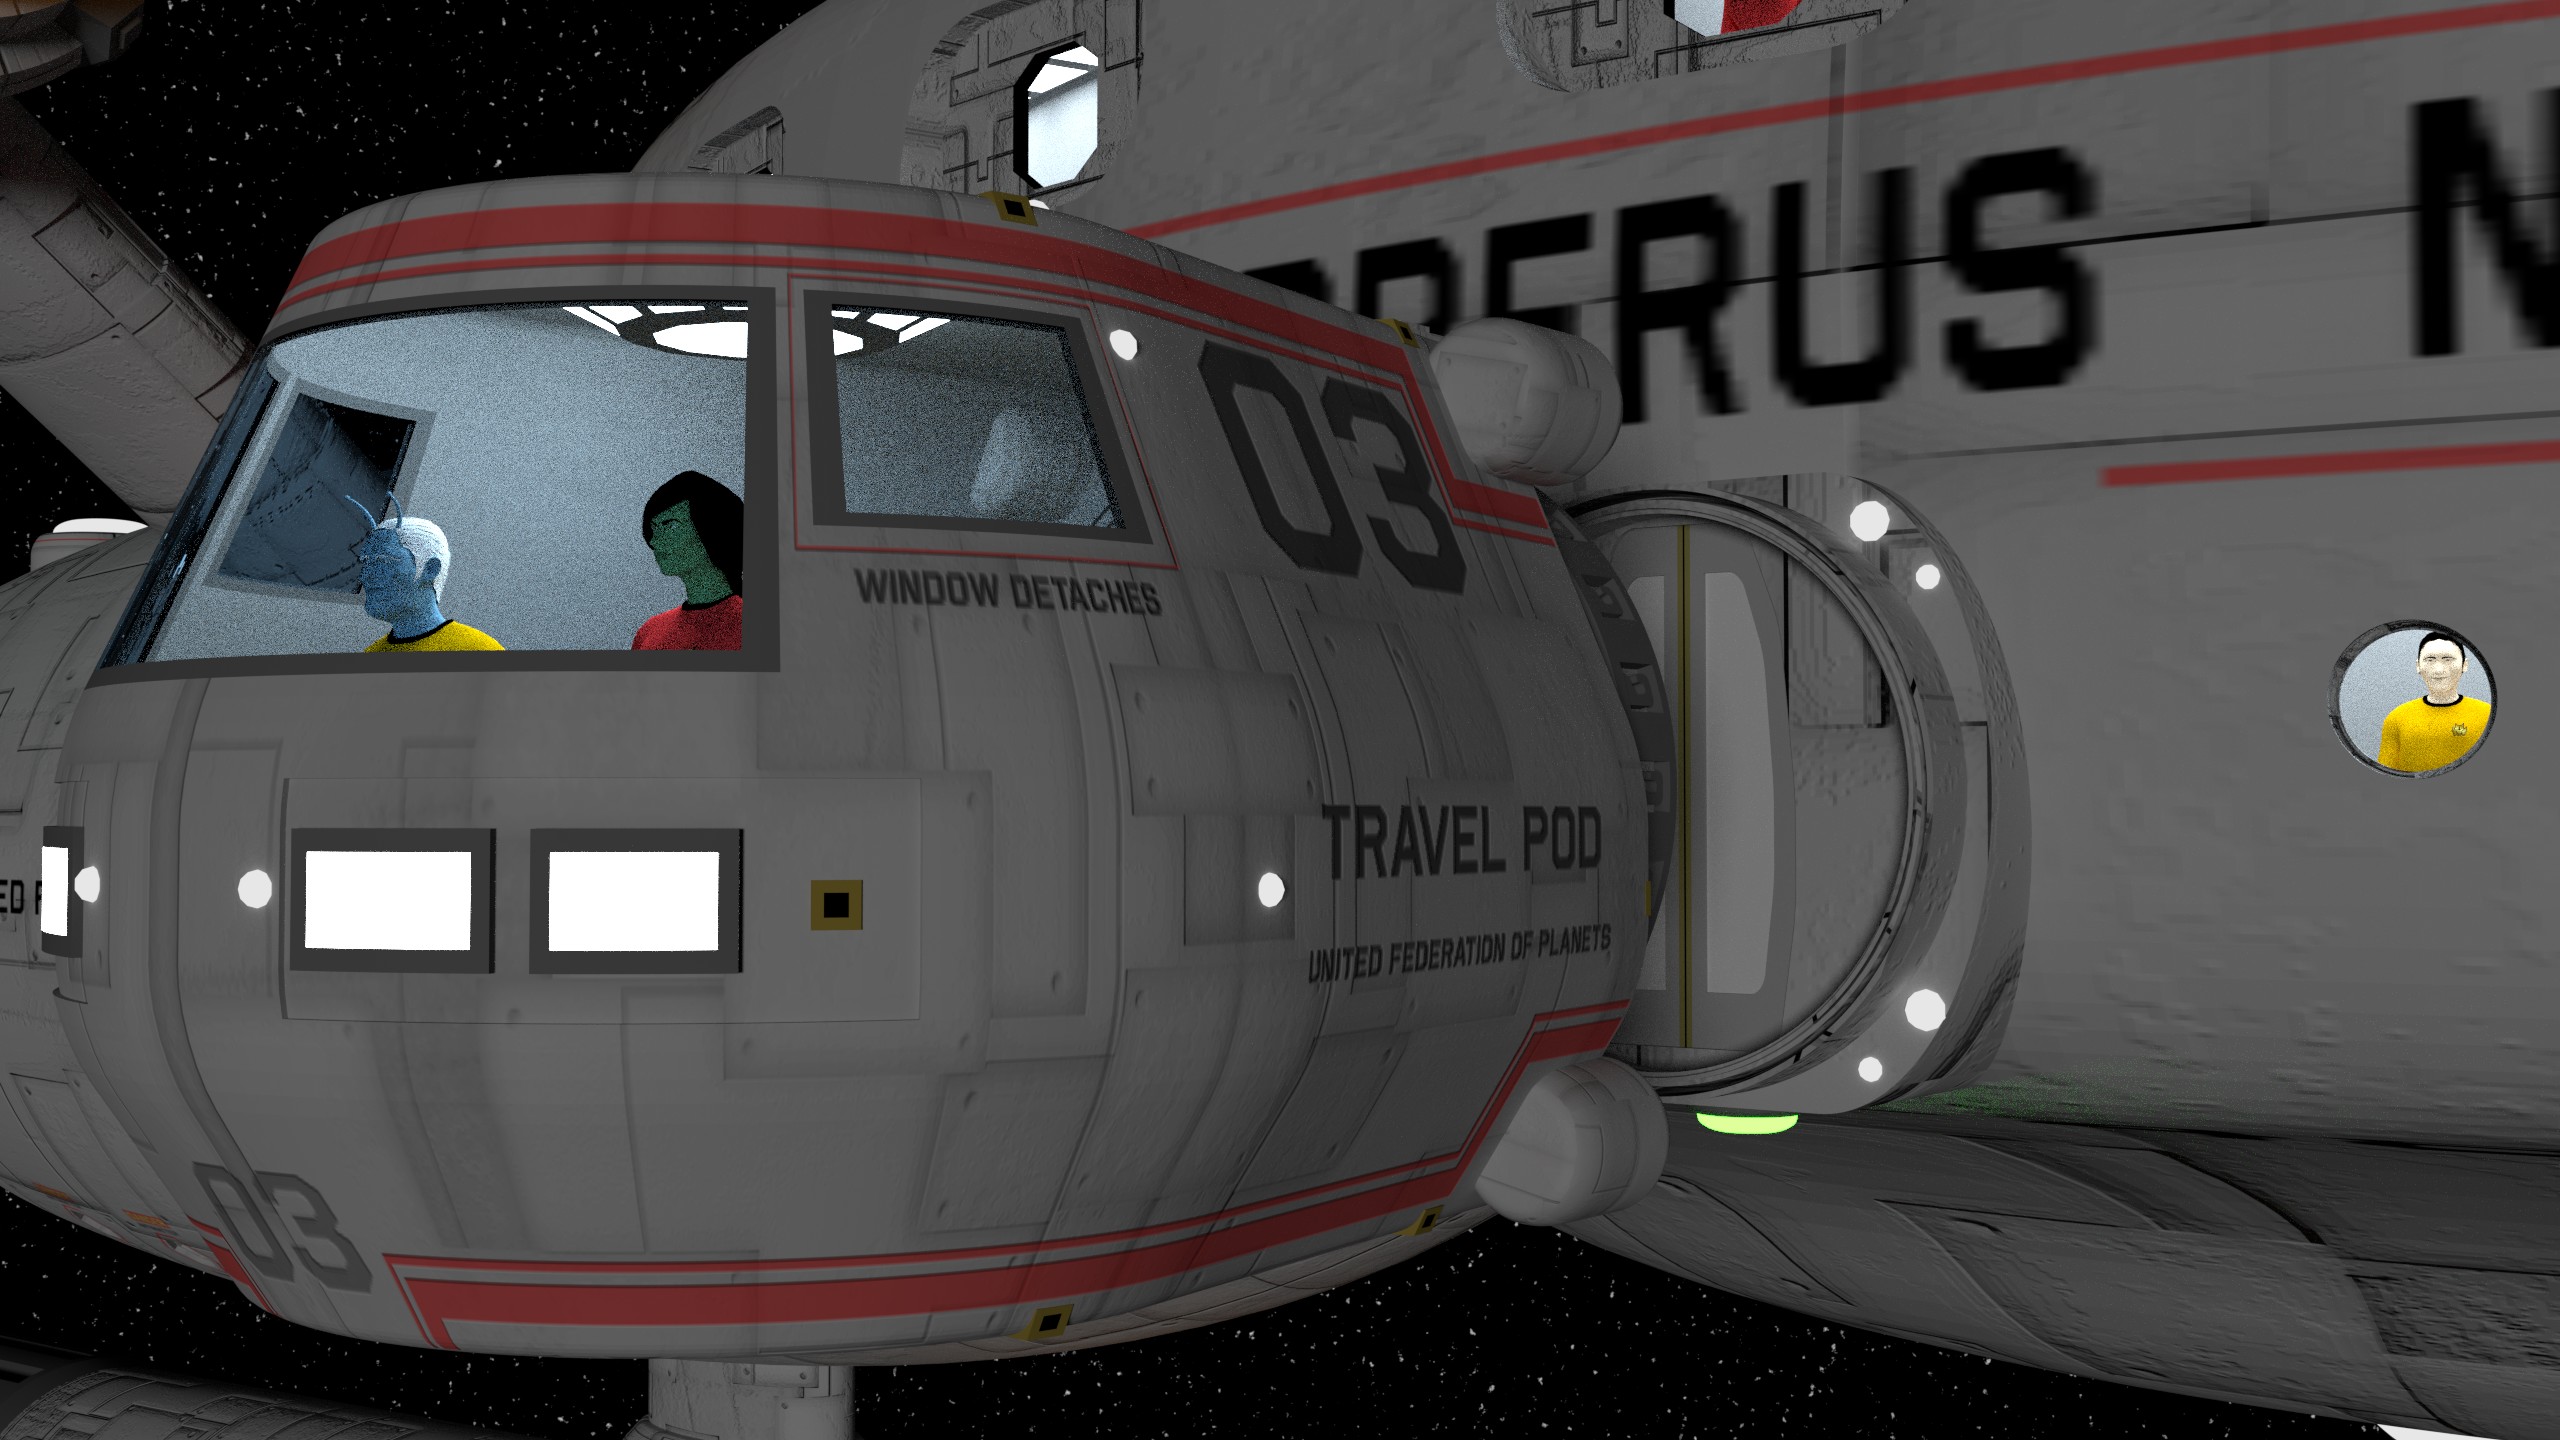
Not only did I have to make a whole new shuttle for this, I also had to make a whole new travel pod. It looks a little too tall for my liking, though... I think maybe I need to raise the floor about six inches.

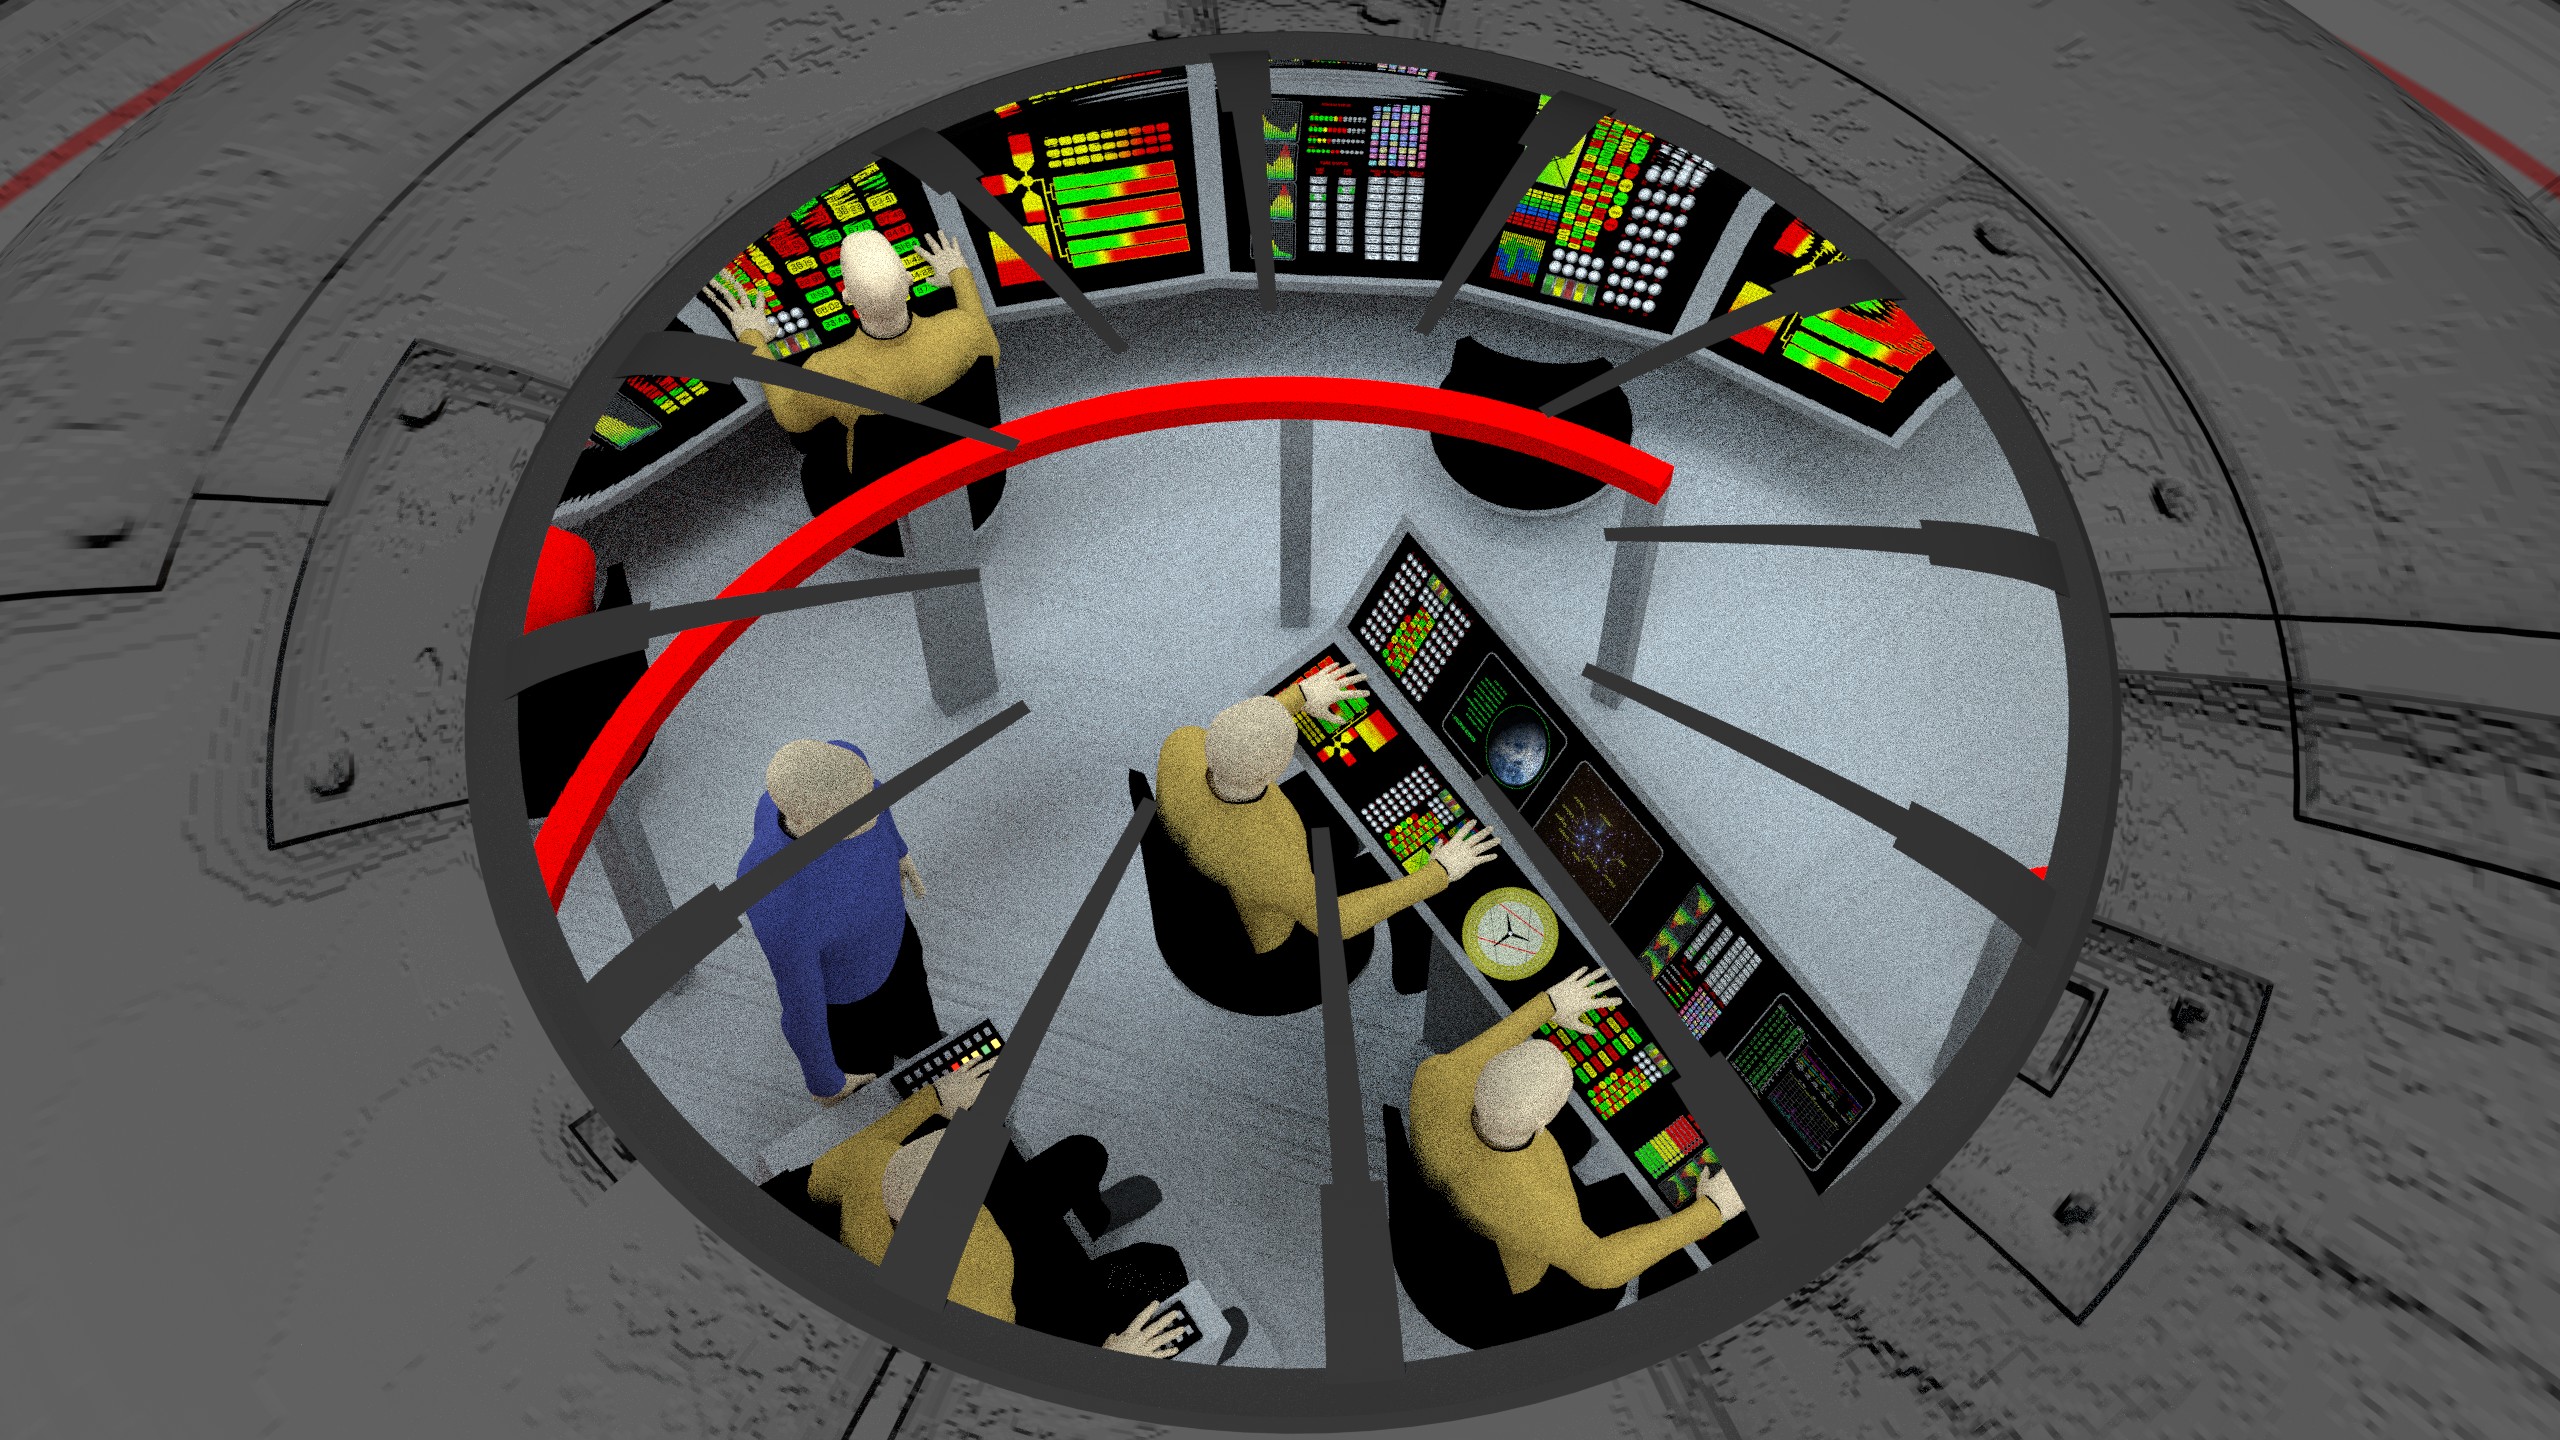
The bridge. Easily the most complex of the interior rooms - most are just a box with a light source, maybe a table and chairs. For the bridge I had to create the room, a captain's chair, and no less than eighteen different console images to put onto the various consoles. Again, a time consuming process but once I have a bank of console images made up, I can put them onto any console in any model very easily.
Before and afters...

On the original design the escape pod hatch covers are barely visible, though they are there. Now they're textured and numbered.


Funny, I showed this to T'Pau yesterday and the first thing she said was "Oh, it's called Cerberus because it had three heads, and the ship has three nacelles?" And in all the time I've spent working on this ship, that thought had never once crossed my mind! But it's so obvious once you think of it.
Another thing that made this a far more difficult job to texture is that it's not just the main ship - I had to create a shuttlecraft from scratch and texture that, too. One great thing about textures - I find them fiddly to set up, but once they are set up they can make life really easy. On my old shuttle design I created the hull lettering by literally creating the text as a 3D object in blender, then putting that so it intersected the hull. Then I used a function called a boolean, which chops off all the parts of the text that are sticking out. Hey presto, you have text that matches the hull surface. It's fiddly and takes an insanely long time - there are cases where I had to repeat that process one letter at a time, to make the text fit the curvature on a hull!
Now I have a textured shuttle, however, all I have to do to make another one is go back to the texture image in photoshop, change the text, and save it as a new texture. So now that the hard work of setting up the texture is done, I can make new shuttles in minutes.
Cerberus has up to three shuttles. In keeping with the doggie theme I've called two of them Little Pup and Underdog. Any suggestions for the third?

Not only did I have to make a whole new shuttle for this, I also had to make a whole new travel pod. It looks a little too tall for my liking, though... I think maybe I need to raise the floor about six inches.
The bridge. Easily the most complex of the interior rooms - most are just a box with a light source, maybe a table and chairs. For the bridge I had to create the room, a captain's chair, and no less than eighteen different console images to put onto the various consoles. Again, a time consuming process but once I have a bank of console images made up, I can put them onto any console in any model very easily.

