HMS Avenger - texturing experiments
Posted: Thu Aug 24, 2017 12:21 am
So of late I've been trying to learn the noble art of texturing surfaces with blender. This is both easy and difficult...
The simplest way to "colour" a surface in blender is just to create a material for it. Materials come in all sorts - glossy ones, smooth ones, glass ones, translucent ones, glowy ones, etc. Here's an object done with a simple grey material.

Not impressive, huh?
Texturing is basically taking an image and wrapping it over the surface of your model. Thus, you can make an image of, say, a roughed up metal surface apply it to make the object more realistic :

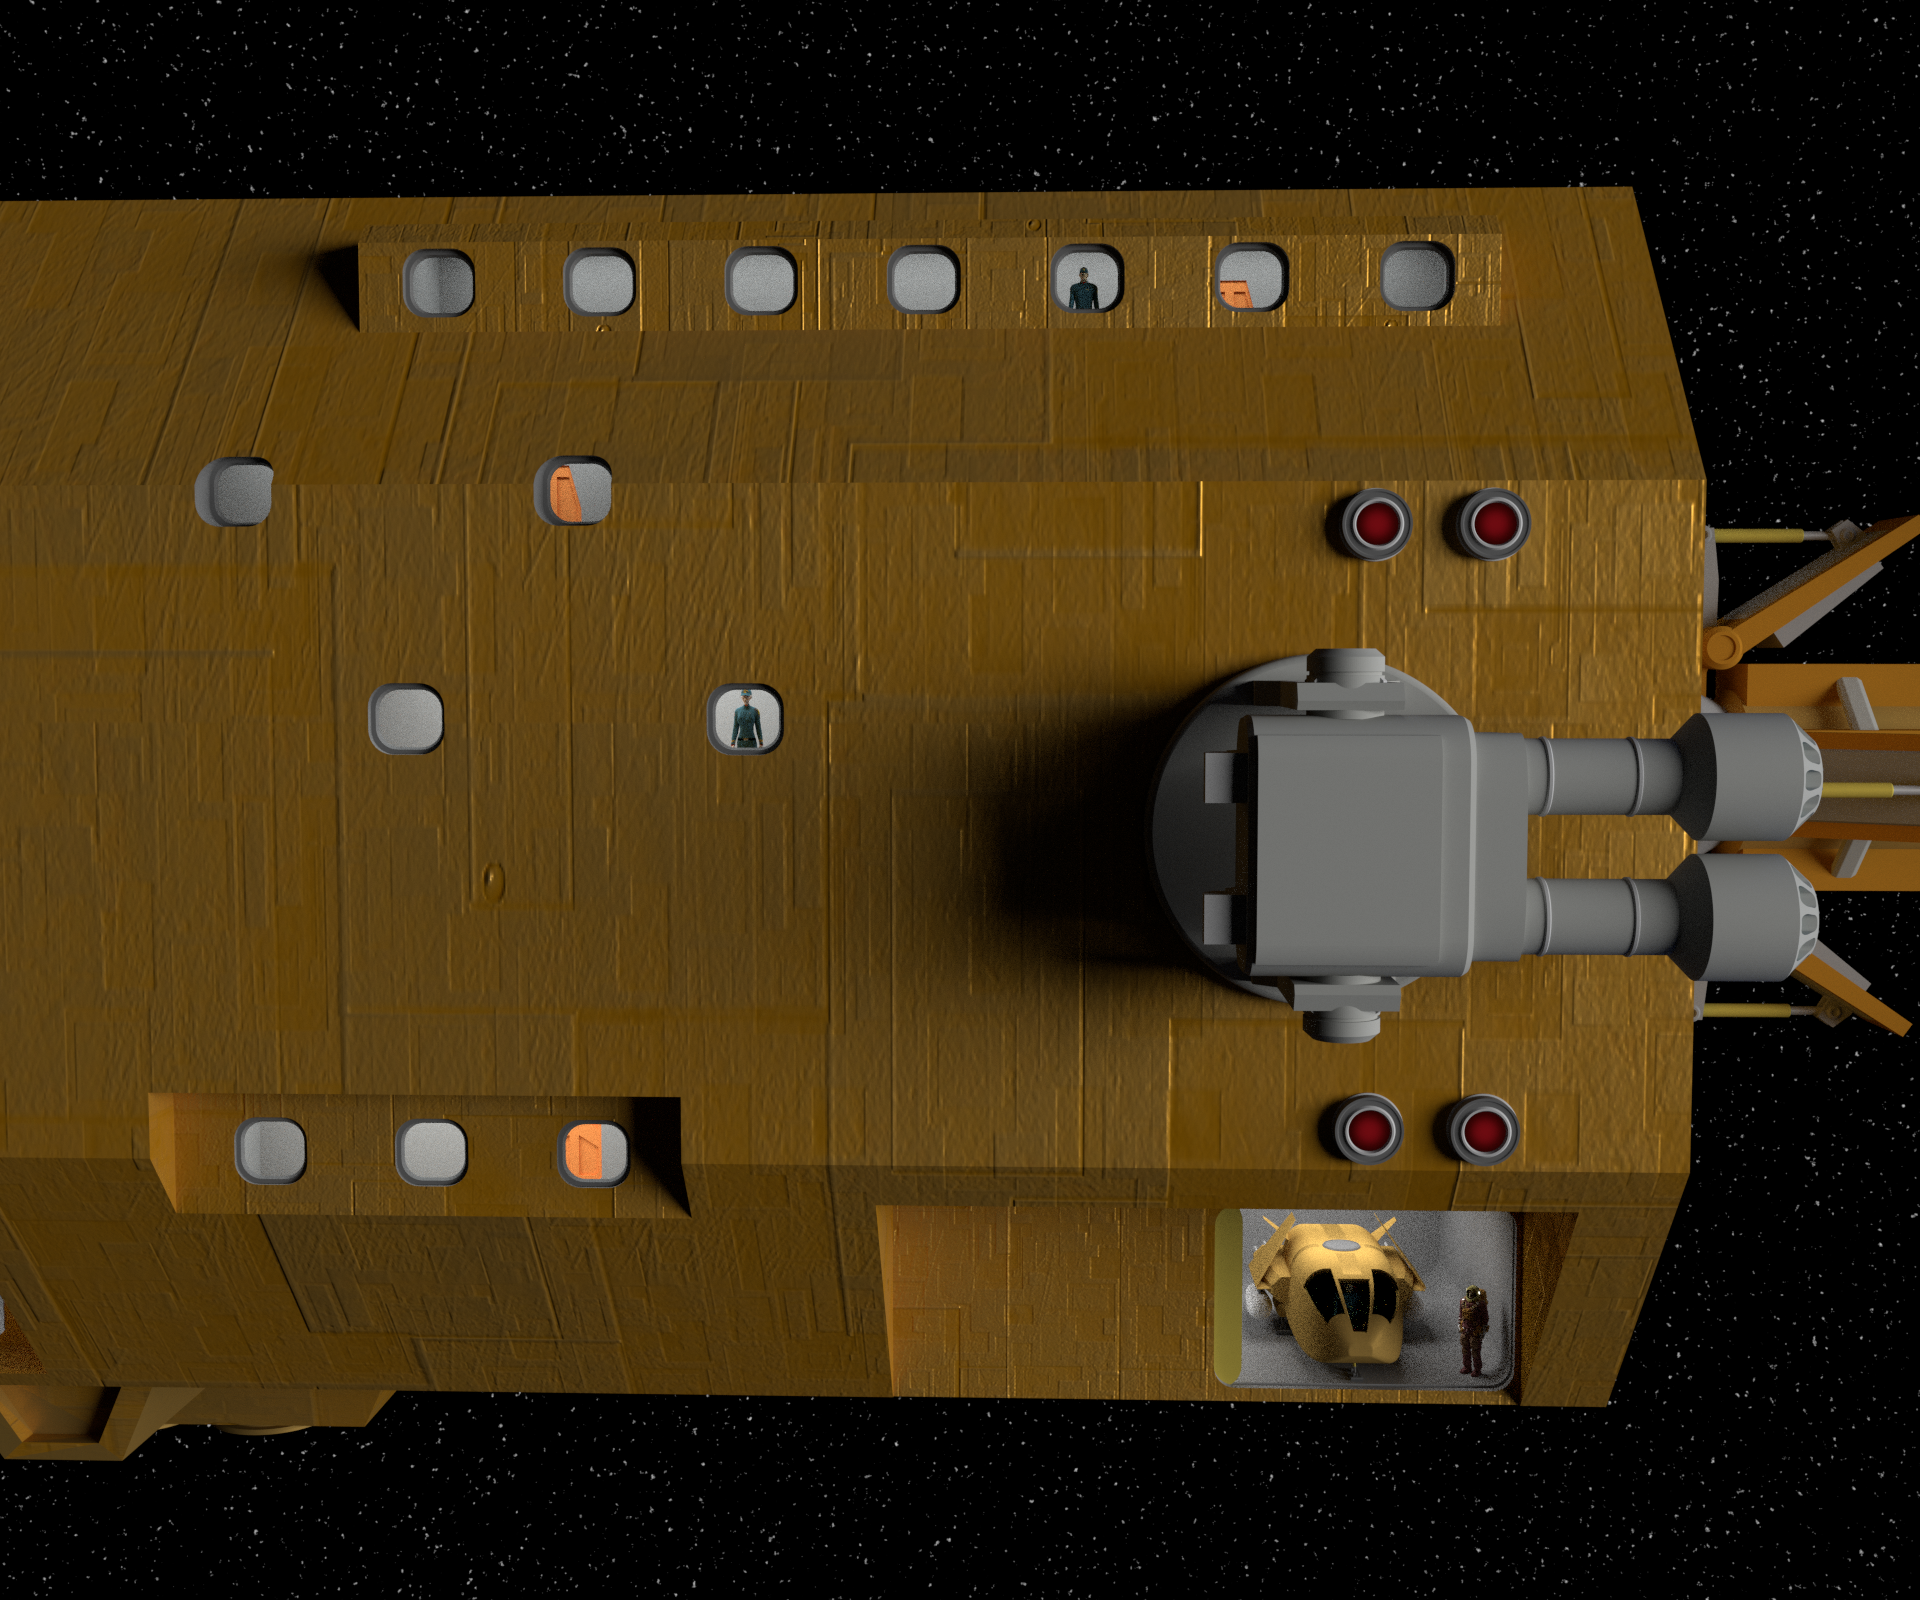
That's about where I was up to previously - that panelled pattern you see on most of my recent blender Coalition ships uses this method to put a panelled hull pattern over the surfaces.

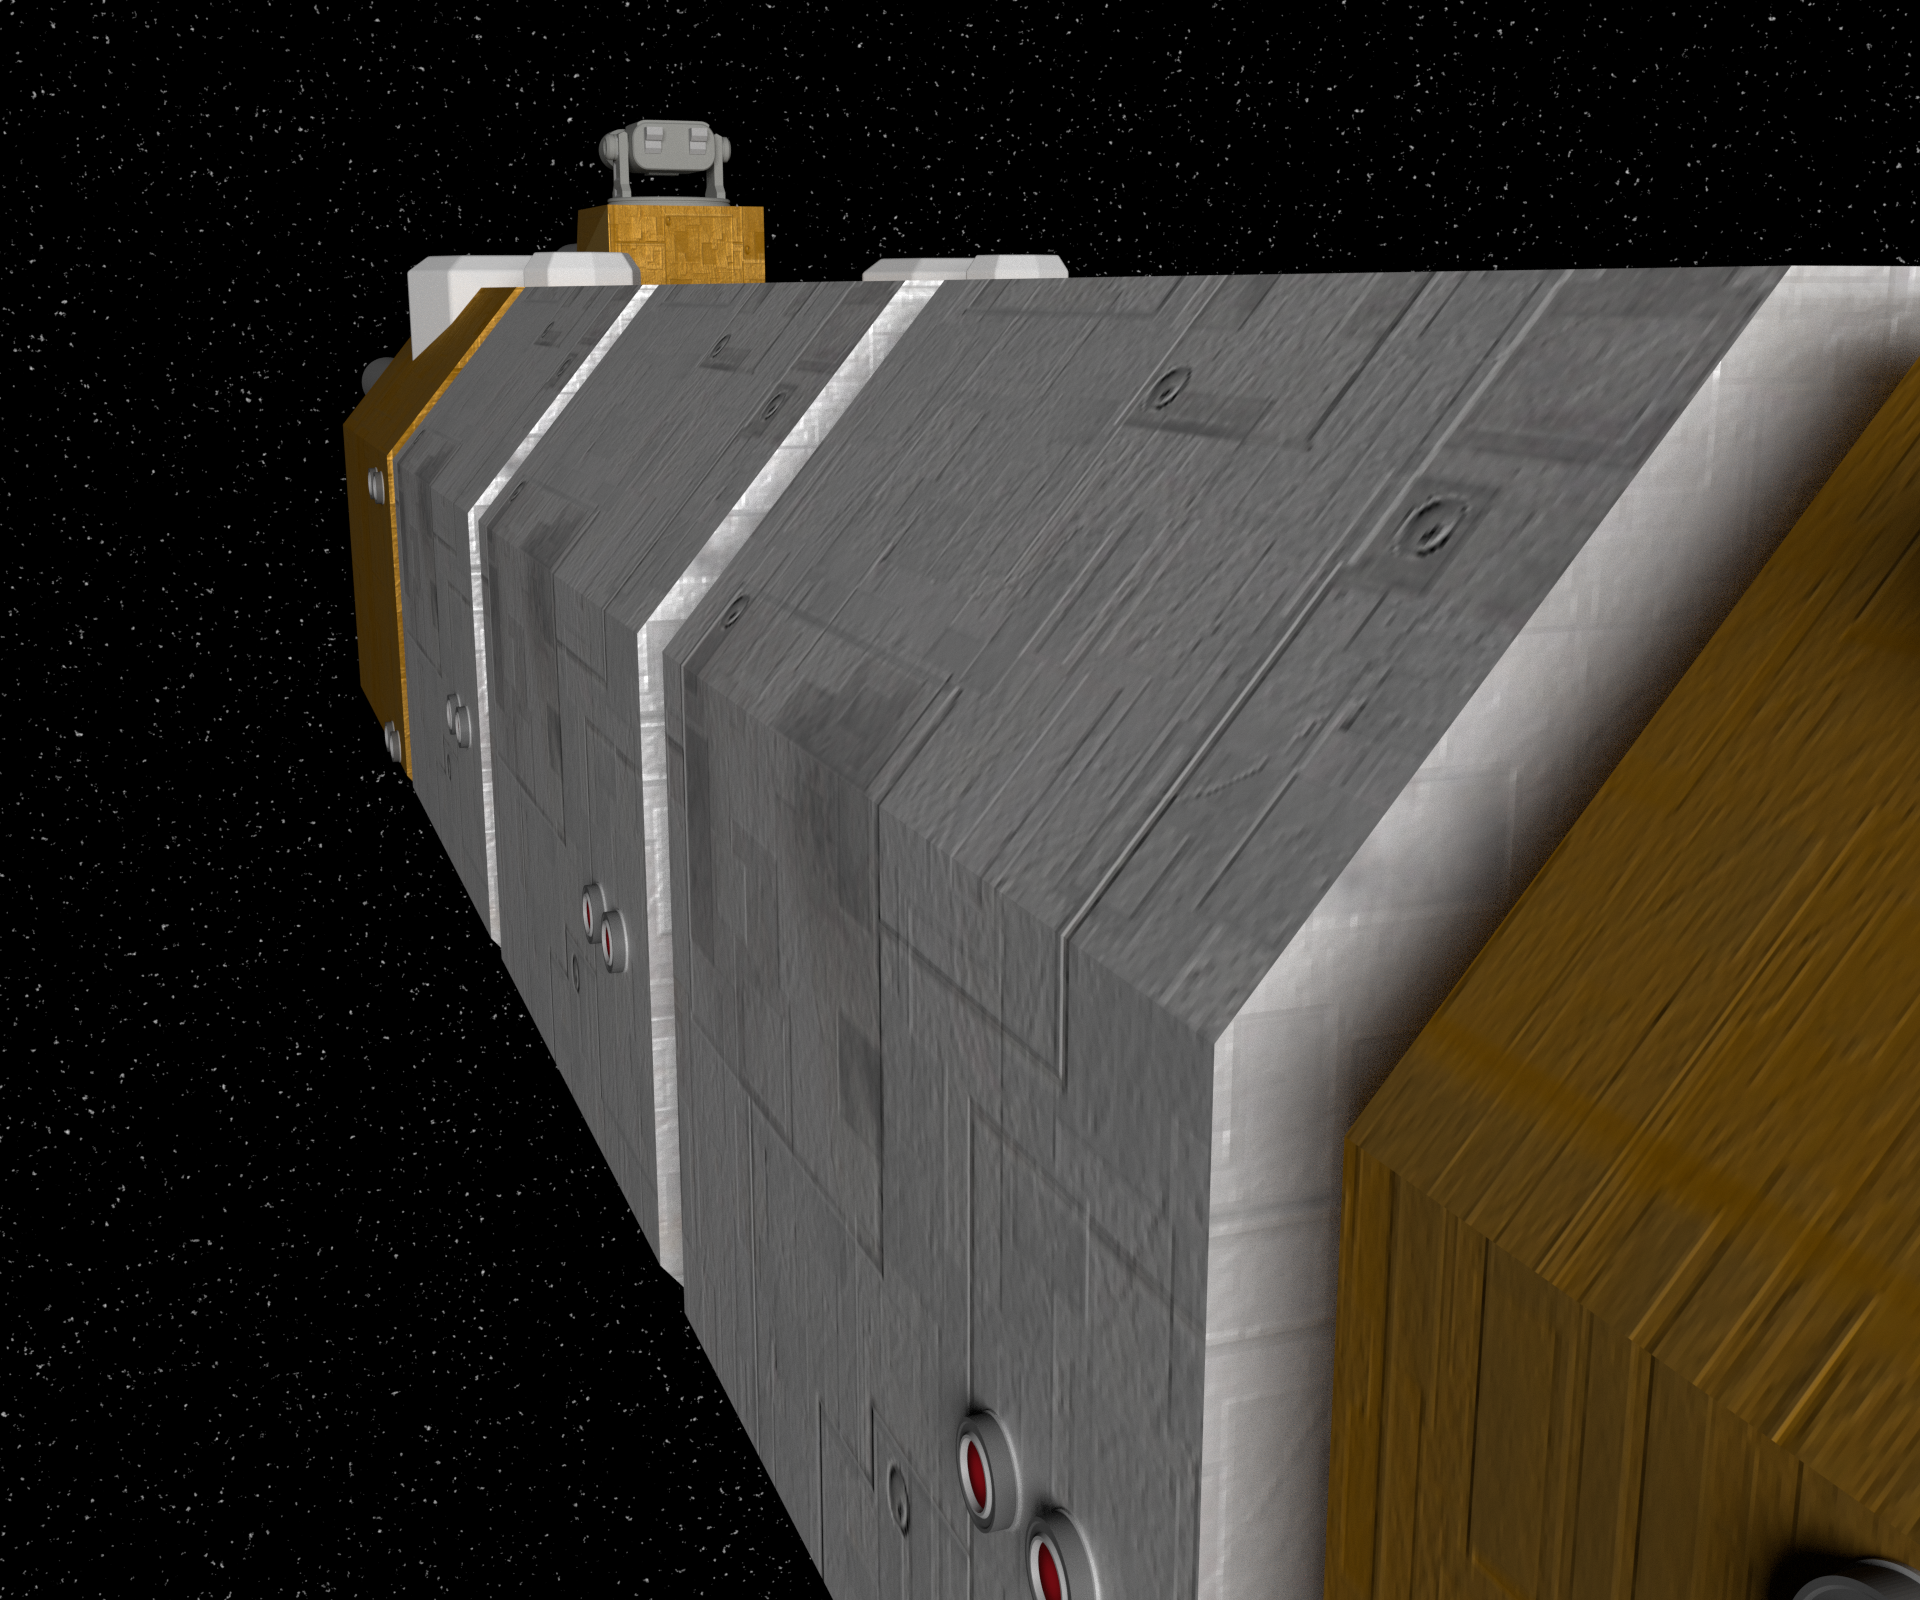
However, it still looks pretty flat and dull, because, well it IS flat. It's still a perfectly smooth surface, just with a pattern on it. Imagine painting a piece of smooth glass with a wood grain pattern and comparing it to actual wood grain.
Well it turns out, you can do something about that - and it's not that difficult. There's a way to tell blender "where this image is light, make it look like it is standing a little proud of the surface. And where it's dark, make it look like it is recessed slightly. And there's another way to say "where it stands proud, make it more glossy, and where it's recessed, make it more matt."
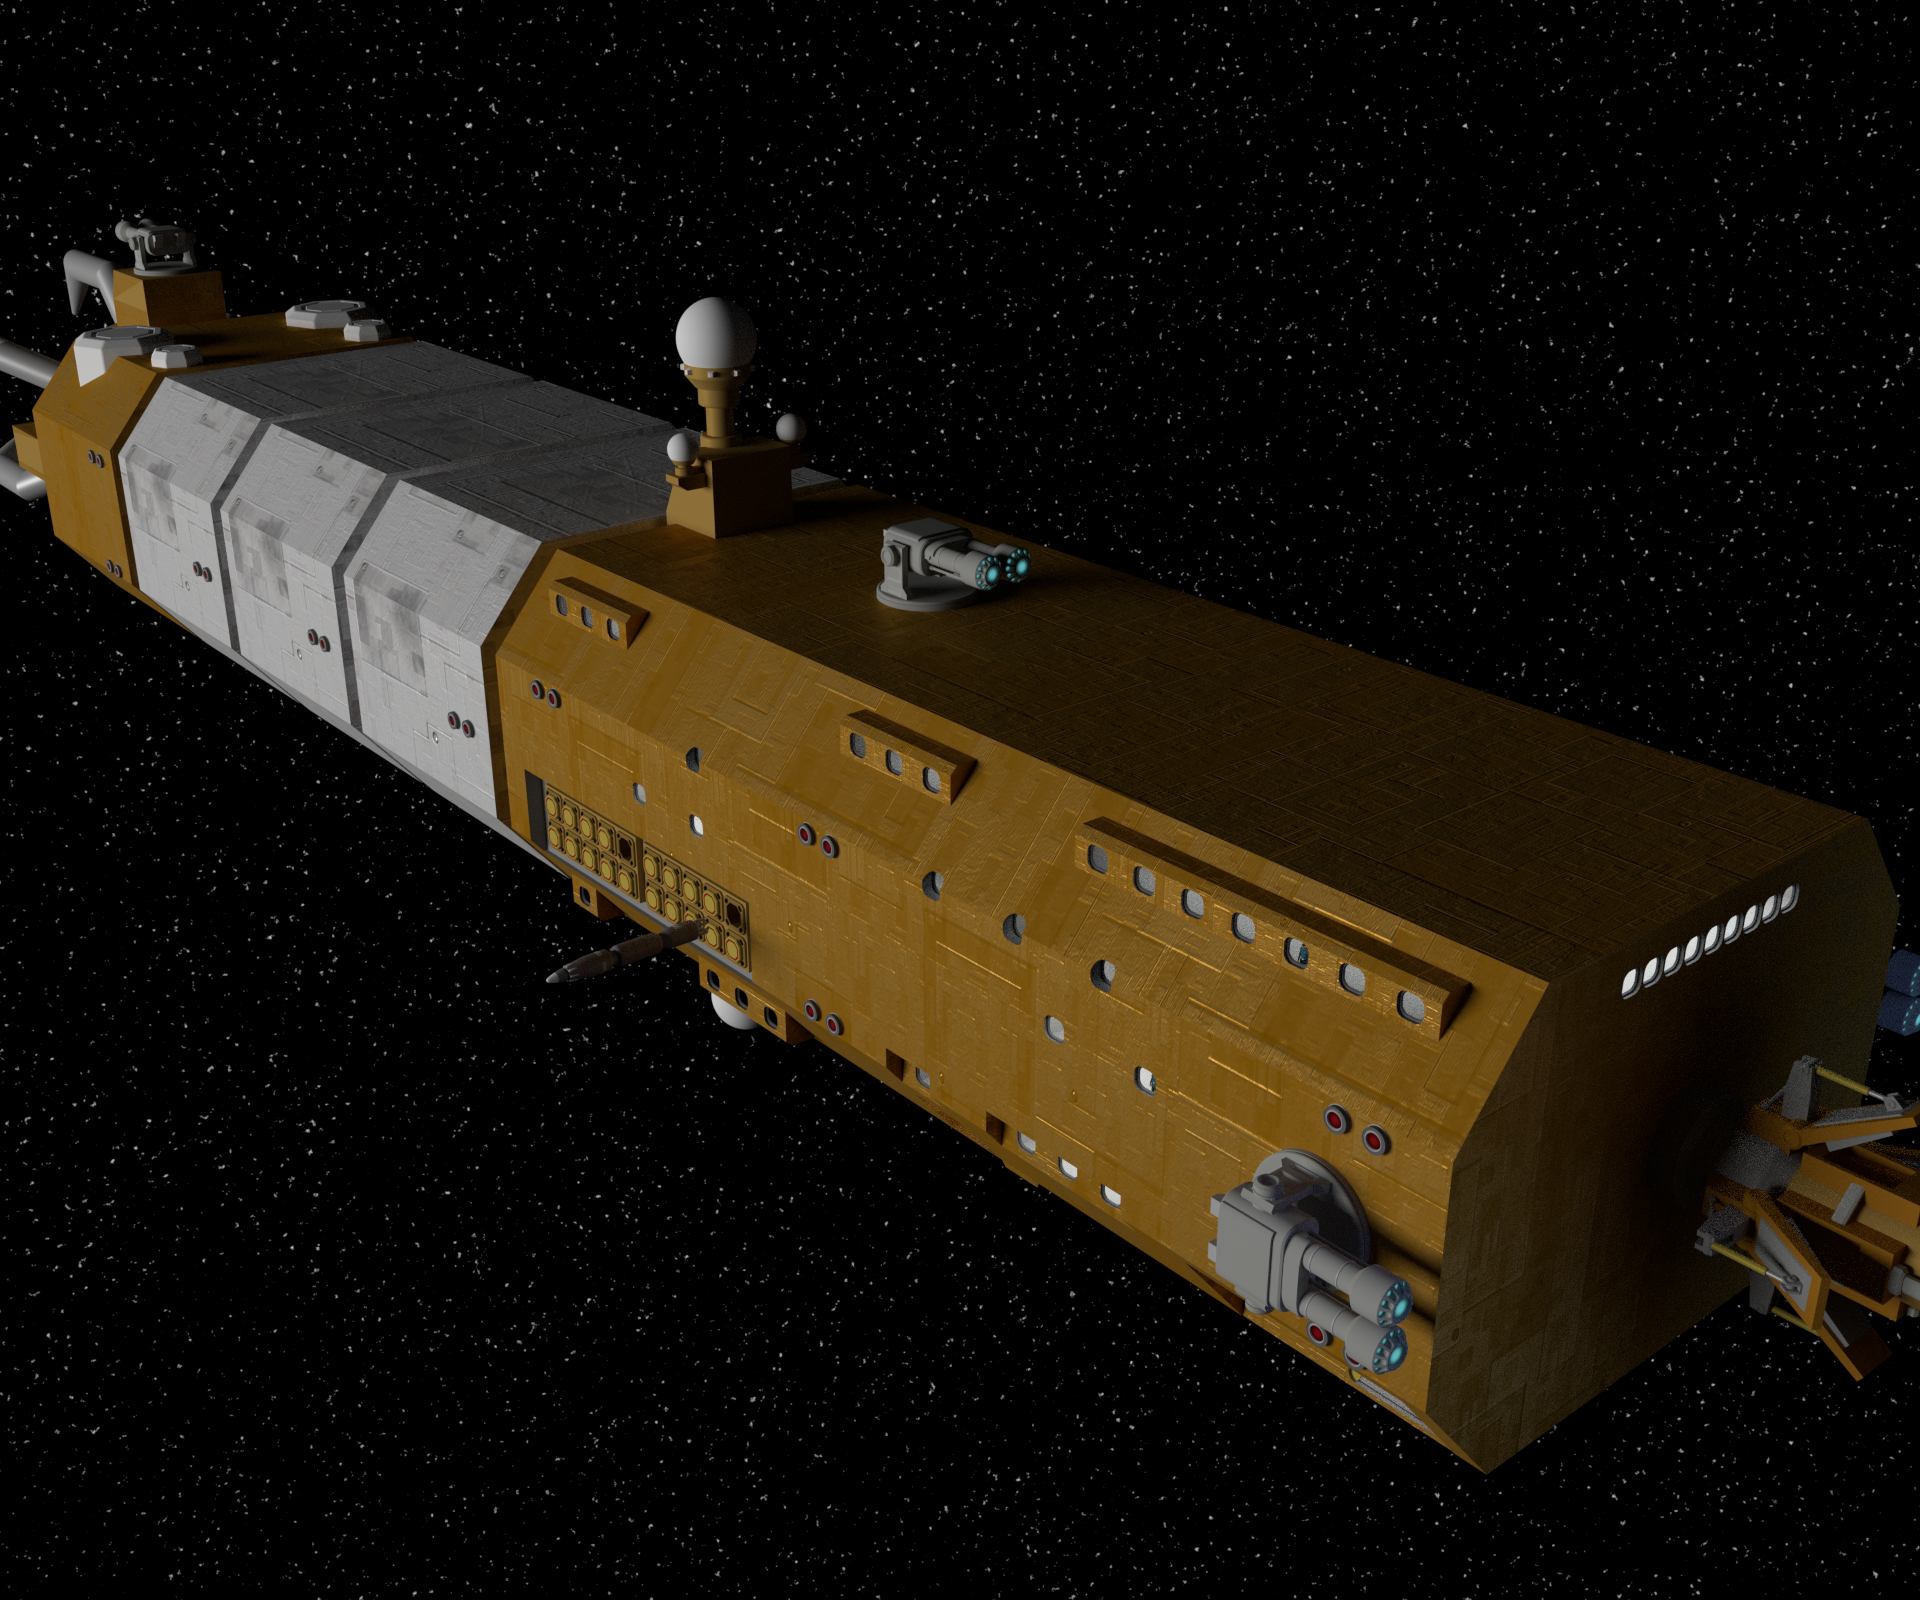
The results go from this :
To this :

That's the exact same object taken from the exact same angle with the exact same lighting and the exact same image pasted over the surface - literally the only difference is a few changes to how the material is set up. And once it's set up, you can use any "scuffed up metal" and get the same effect. As we will shortly see...
The simplest way to "colour" a surface in blender is just to create a material for it. Materials come in all sorts - glossy ones, smooth ones, glass ones, translucent ones, glowy ones, etc. Here's an object done with a simple grey material.
Not impressive, huh?
Texturing is basically taking an image and wrapping it over the surface of your model. Thus, you can make an image of, say, a roughed up metal surface apply it to make the object more realistic :
That's about where I was up to previously - that panelled pattern you see on most of my recent blender Coalition ships uses this method to put a panelled hull pattern over the surfaces.
However, it still looks pretty flat and dull, because, well it IS flat. It's still a perfectly smooth surface, just with a pattern on it. Imagine painting a piece of smooth glass with a wood grain pattern and comparing it to actual wood grain.
Well it turns out, you can do something about that - and it's not that difficult. There's a way to tell blender "where this image is light, make it look like it is standing a little proud of the surface. And where it's dark, make it look like it is recessed slightly. And there's another way to say "where it stands proud, make it more glossy, and where it's recessed, make it more matt."
The results go from this :
To this :
That's the exact same object taken from the exact same angle with the exact same lighting and the exact same image pasted over the surface - literally the only difference is a few changes to how the material is set up. And once it's set up, you can use any "scuffed up metal" and get the same effect. As we will shortly see...