Search
Cookie Usage
Statistics
Colour Key
Sudden Death
Monthly Poll
Caption Comp
eMail Author
Shops
Ships
Fleets
Weaponry
Species
People
Timelines
Calculators
Photo Galleries
Stations
Design Lineage
Size Charts
Battles
Science / Tech
Temporal
Styling
Maps / Politics
Articles
Reviews
Lists
Recreation
Search
Site Guide
What's New
Forum
Photo Galleries
Architecture
Articles
Battles
Big bangs
Food
General
Holoprogs
Illnesses
Little bangs
Nebulae
People
Planets
Recreation and games
Science and technology
Ships
Ship internals
Species
Stations
Station internals
Temporal
Weapons
☰
Battles Gallery
Page :
01
02
03
04
05
06
07
08
09
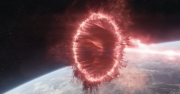
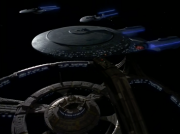
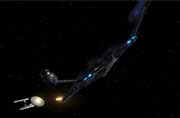
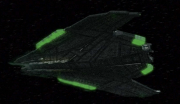
Coppelius battle
Image 21
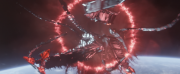
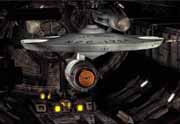
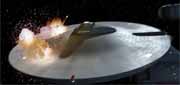
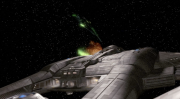
Coppelius battle
Image 22
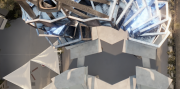
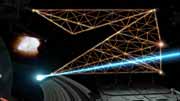
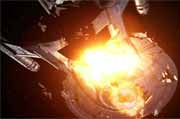
Coppelius battle
Image 23
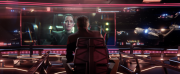
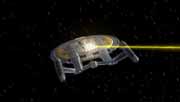
Coppelius battle
Image 24
Coppelius battle
Image 25
Coppelius battle
Image 26
Coppelius battle
Image 27
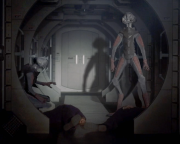
Death of a Caretaker
Image 1
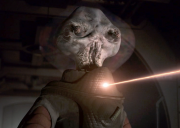
Death of a Caretaker
Image 2
Death of a Caretaker
Image 3
Death of a Caretaker
Image 4
Death of a Caretaker
Image 5
Death of a Caretaker
Image 6
Death of a Caretaker
Image 7
Death of a Caretaker
Image 8
Death of a Caretaker
Image 9
Death of a Caretaker
Image 10
Death of a Caretaker
Image 11
Death of a Caretaker
Image 12
Deep Space Nine
Image 1
Deep Space Nine
Image 2
Deep Space Nine
Image 3
Deep Space Nine
Image 4
Deep Space Nine
Image 5
Deep Space Nine
Image 6
Deep Space Nine
Image 7
Deep Space Nine
Image 8
Deep Space Nine
Image 9
Deep Space Nine
Image 10
Deep Space Nine
Image 11
Empire in Crisis
Image 1
Empire in Crisis
Image 2
Empire in Crisis
Image 3
Empire in Crisis
Image 4
Empire in Crisis
Image 5
Empire in Crisis
Image 6
Empire in Crisis
Image 7
Empire in Crisis
Image 8
Empire in Crisis
Image 9
Empire in Crisis
Image 10
Empire in Crisis
Image 11
Empire in Crisis
Image 12
Empire in Crisis
Image 13
Enterprise Attack
Image 1
Enterprise Attack
Image 2
Enterprise Attack
Image 3
Enterprise Attack
Image 4
Enterprise Attack
Image 5
Enterprise Attack
Image 6
Enterprise Attack
Image 7
Enterprise Attack
Image 8
Enterprise Attack
Image 9
Enterprise Attack
Image 10
Enterprise Attack
Image 11
Enterprise Attack
Image 12
Kazon Attack
Image 1
Kazon Attack
Image 2
Kazon Attack
Image 3
Kazon Attack
Image 4
Kazon Attack
Image 5
Page :
01
02
03
04
05
06
07
08
09
Colour key
Canon source
Backstage source
Novel source
DITL speculation
© Graham & Ian Kennedy
Page views : 240,262
Last updated : 24 Nov 2005